The Ultimate Home Spring Cleaning Guide: A Room-by-Room Plan for a Cleaner House

There is a distinct magic to the first true day of spring. The air smells crisp, the sun hangs a little higher in the sky, and suddenly, the winter layer of dust inside your house becomes glaringly obvious.
Spring cleaning isn’t just a traditional chore; it’s a psychological reset. It is a way to shake off the stagnant energy of colder months, throw open the windows, and reclaim your living space.
But let’s be honest: tackling an entire house can feel completely overwhelming. Where do you even begin? How do you keep from throwing in the towel two hours in, surrounded by a bigger mess than when you started?
The secret is a strategic, room-by-room plan. This ultimate guide breaks down the mammoth task of spring cleaning into actionable, bite-sized steps. Grab your favorite playlist, stock up on supplies, and let’s transform your home.
Part 1: The Golden Rules of Spring Cleaning
Before you wipe down a single surface, you need a strategy. Professional organizers and cleaners live by a few foundational rules that maximize efficiency and prevent you from cleaning the same spot twice.
Clean from Top to Bottom
Dust falls downward. Always clean ceilings, light fixtures, and upper shelving first. Vacuuming and mopping the floors should always be your final step.
Work Clockwise Around the Room
Choose a starting point in a room and move in a circle. This ensures you don't miss a single corner and keeps you focused.
Declutter Before You Clean
You cannot efficiently clean a space that is full of clutter. Sort items into four categories: Keep, Donate, Sell, or Trash before you ever pull out the microfiber cloths.
Let the Cleaners Do the Heavy Lifting
Spray your oven, shower walls, or toilet bowls first. Let the cleaning solutions sit and break down grime while you work on other tasks.
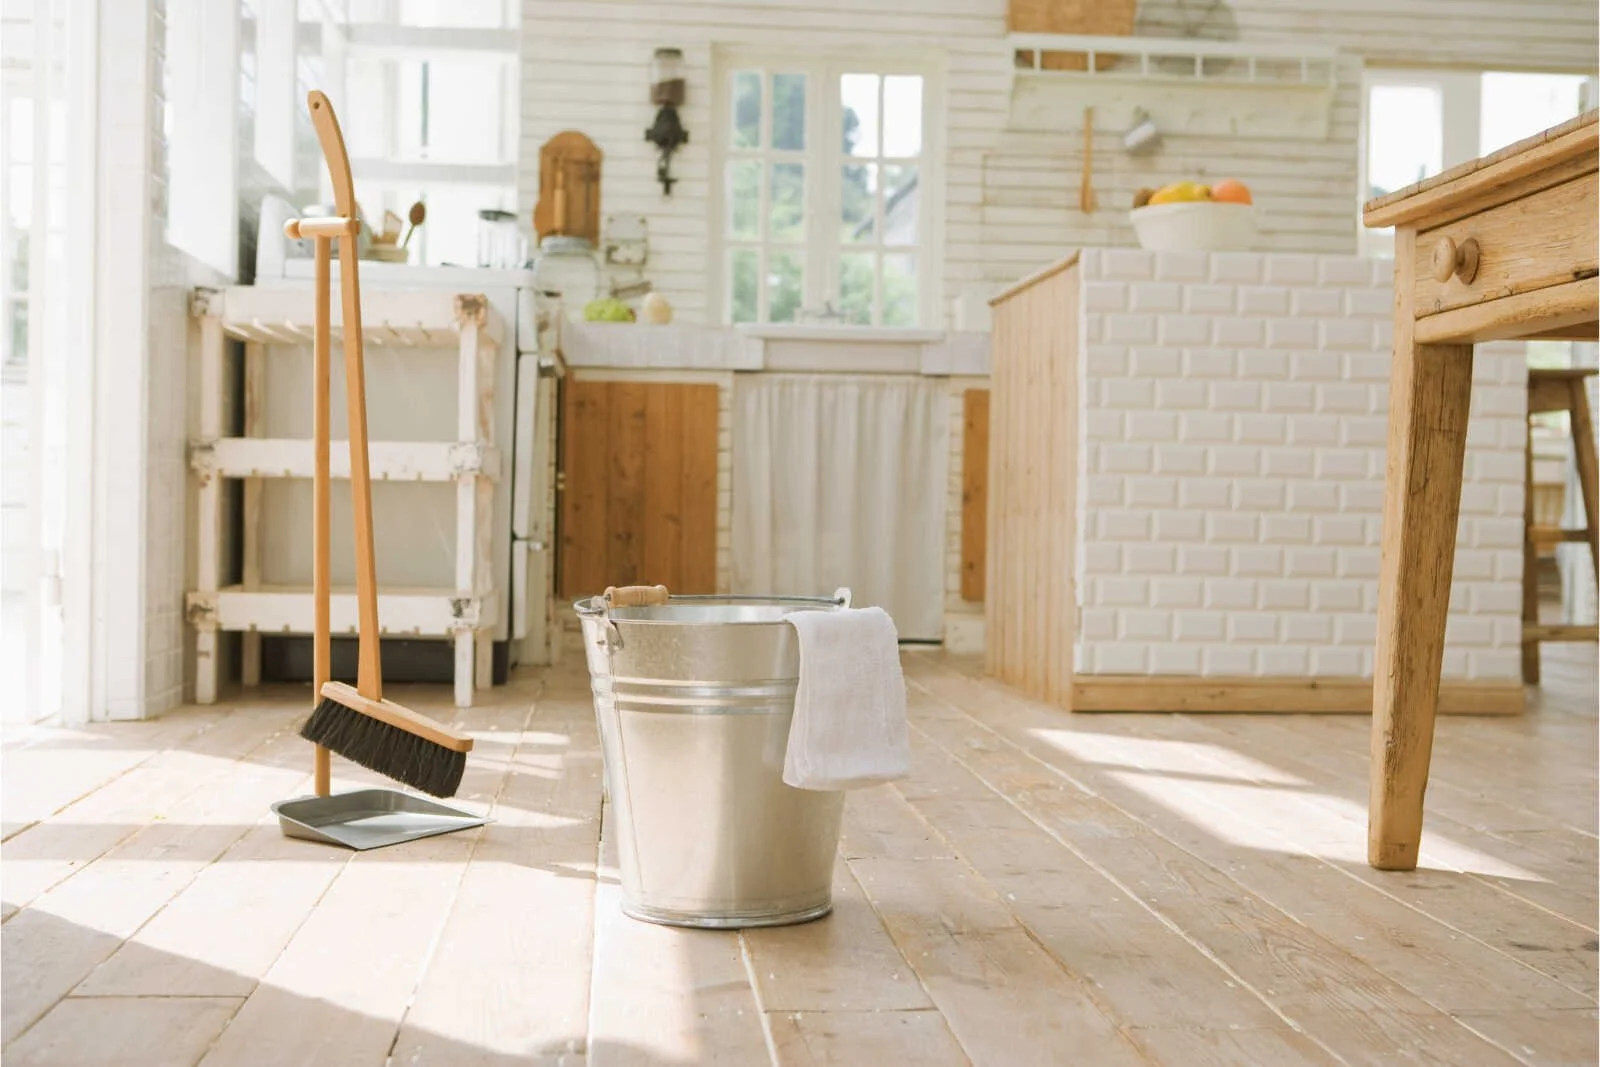
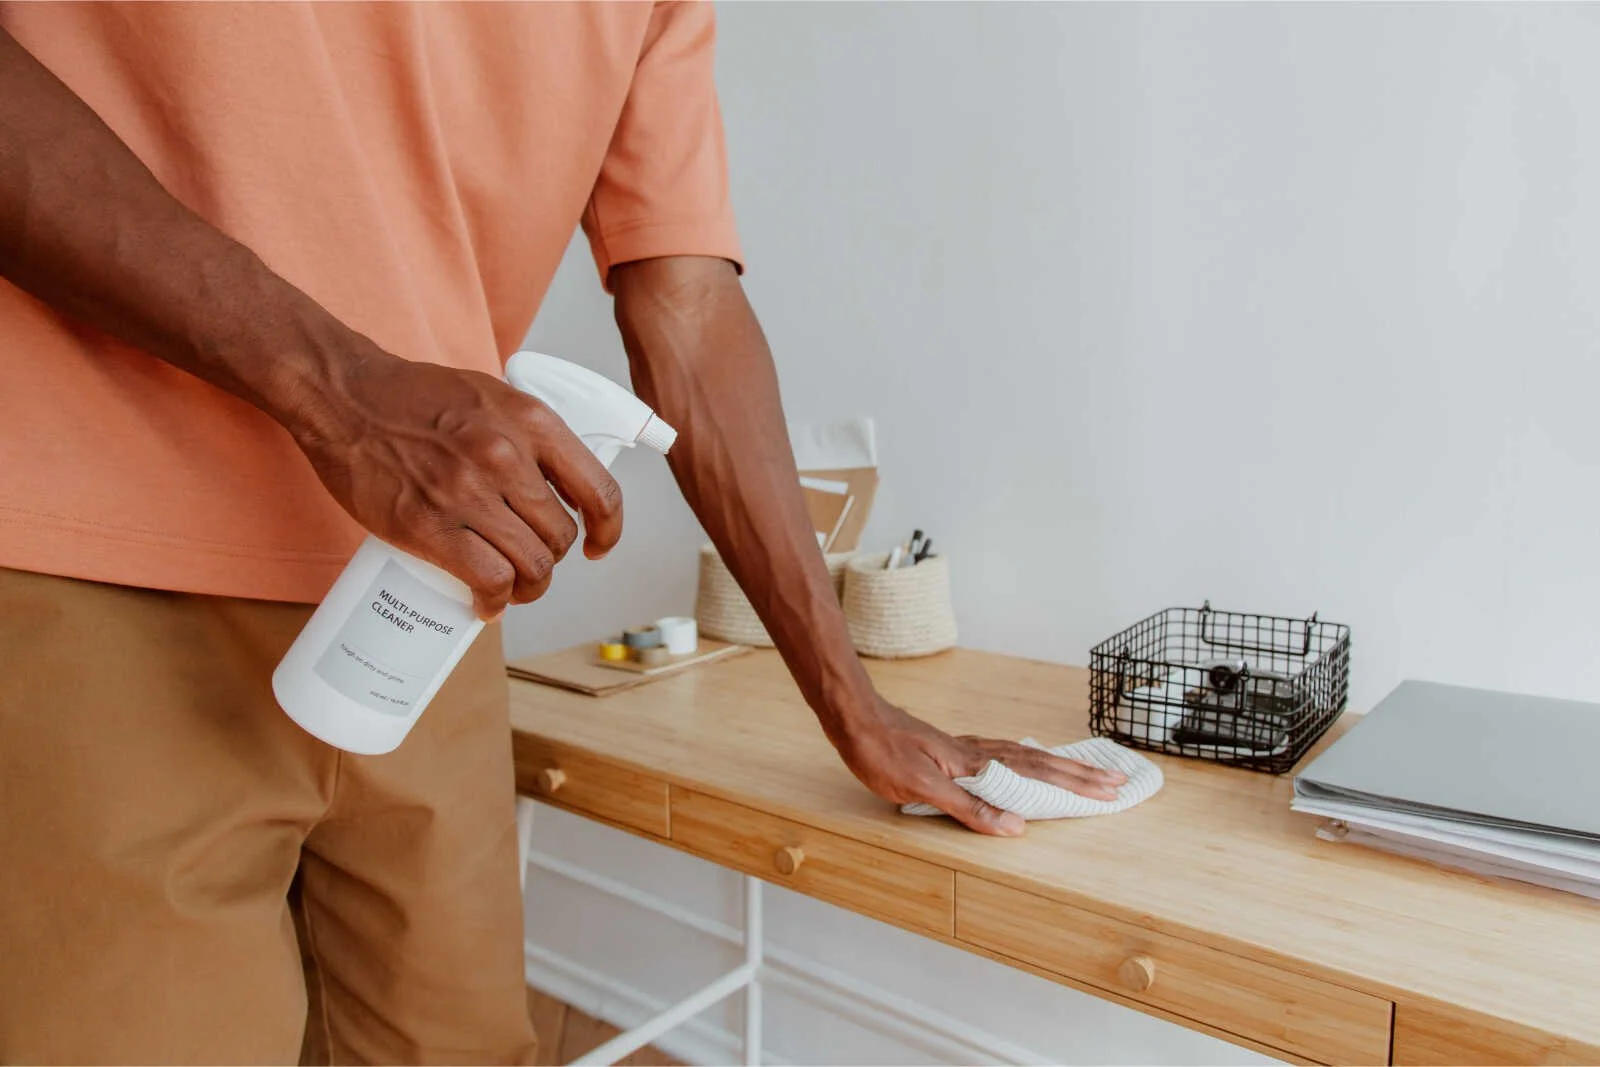
The Ultimate Spring Cleaning Toolkit
Make sure you have your supplies ready to go so you don't lose momentum:
Tools:
Microfiber cloths, extendable duster, scrub brushes, vacuum (with attachments), mop, bucket, spray bottles.
Eco-Friendly Cleaners:
White vinegar, baking soda, Castile soap, lemon juice.
Heavy-Duty Cleaners:
Disinfectant spray, glass cleaner, wood polish, specialized grout cleaner.
Safety & Comfort:
Rubber gloves, a caddy to carry supplies, a great playlist or audiobook.
Part 2: The Room-by-Room Master Plan
1. The Kitchen: The Deep-Clean Zone
The kitchen is the hardworking heart of the home, which means it accumulates grease, crumbs, and hidden grime faster than anywhere else.
Step 1: The Major Appliances
The Refrigerator & Freezer: Unplug the fridge (if you can easily reach the plug) or just work quickly. Empty every single item. Check expiration dates and toss anything expired.
Take out the shelves and drawers and wash them in warm, soapy water. Wipe down the interior walls with a mixture of two tablespoons of baking soda and one quart of warm water (vinegar can leave a strong scent that food absorbs).
Vacuum the condenser coils at the back or bottom of the fridge to improve its efficiency.
The Oven & Stovetop: Apply an oven cleaner or a paste of baking soda and water. Let it sit for several hours. Scrub away the baked-on grease. Clean the stovetop burners, knobs, and range hood. Don't forget to replace or wash the range hood grease filter!
The Dishwasher: Remove the bottom rack and clear out any food debris from the drain. Place a cup of white vinegar on the top rack and run a hot cycle to eliminate mineral buildup and odors.
Step 2: Cabinets and Pantries
Empty all food items from the pantry. Wipe down the shelves. Group similar items together in bins or jars, and face food labels forward.
Wipe down the fronts of all cabinet doors, paying special attention to areas around the handles where finger grease builds up.
Step 3: Countertops, Sinks, and Backsplashes
Clear everything off the countertops. Scrub the backsplash and counters according to their material (granite, quartz, tile).
Sanitize the sink. For a stainless steel sink, a scrub of baking soda followed by a vinegar rinse will make it gleam. Pour half a cup of baking soda down the garbage disposal, followed by hot vinegar, to freshen the drain.
2. The Living & Family Rooms: The Comfort Zone
Your living room is where you unwind, which also means it collects pet hair, dust mites, and a lot of daily wear-and-tear.
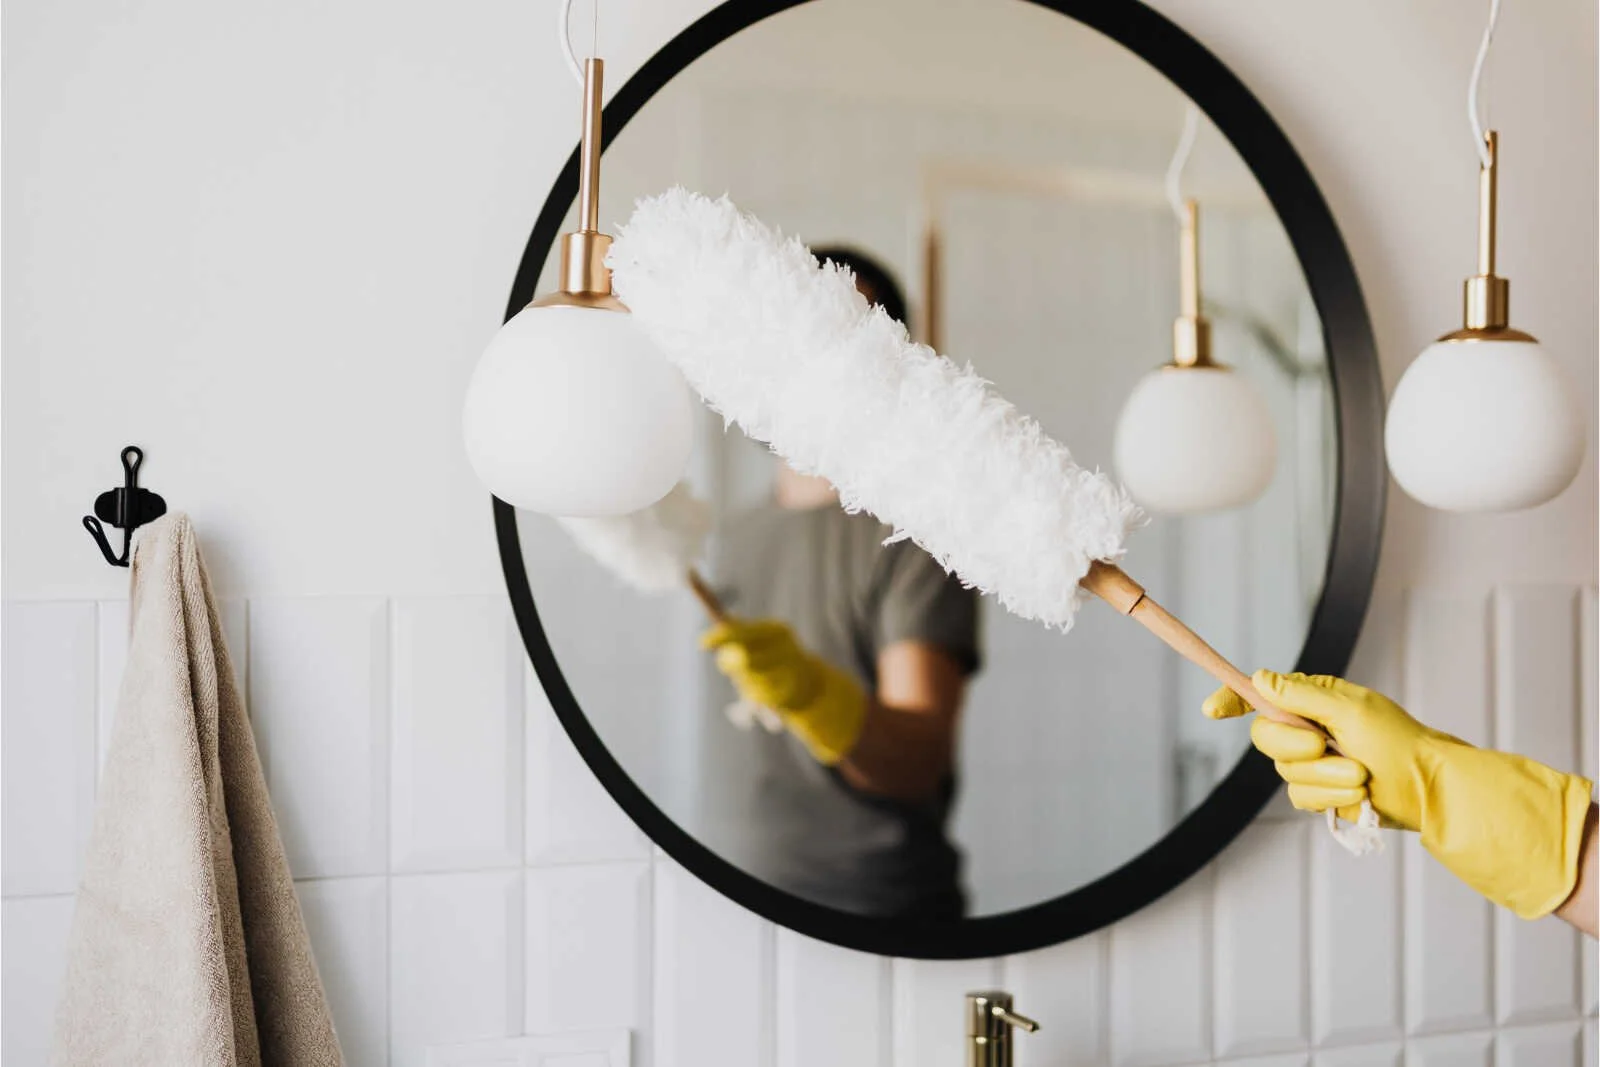
Step 1: High Dusting & Walls
Use an extendable duster to clear cobwebs from ceiling corners and crown molding.
Dust ceiling fan blades.
Pro-Tip: Slip an old pillowcase over a fan blade, then pull it back. The dust stays trapped inside the pillowcase instead of falling all over your face and furniture!
Wipe down baseboards, switch plates, and door frames with a damp microfiber cloth.
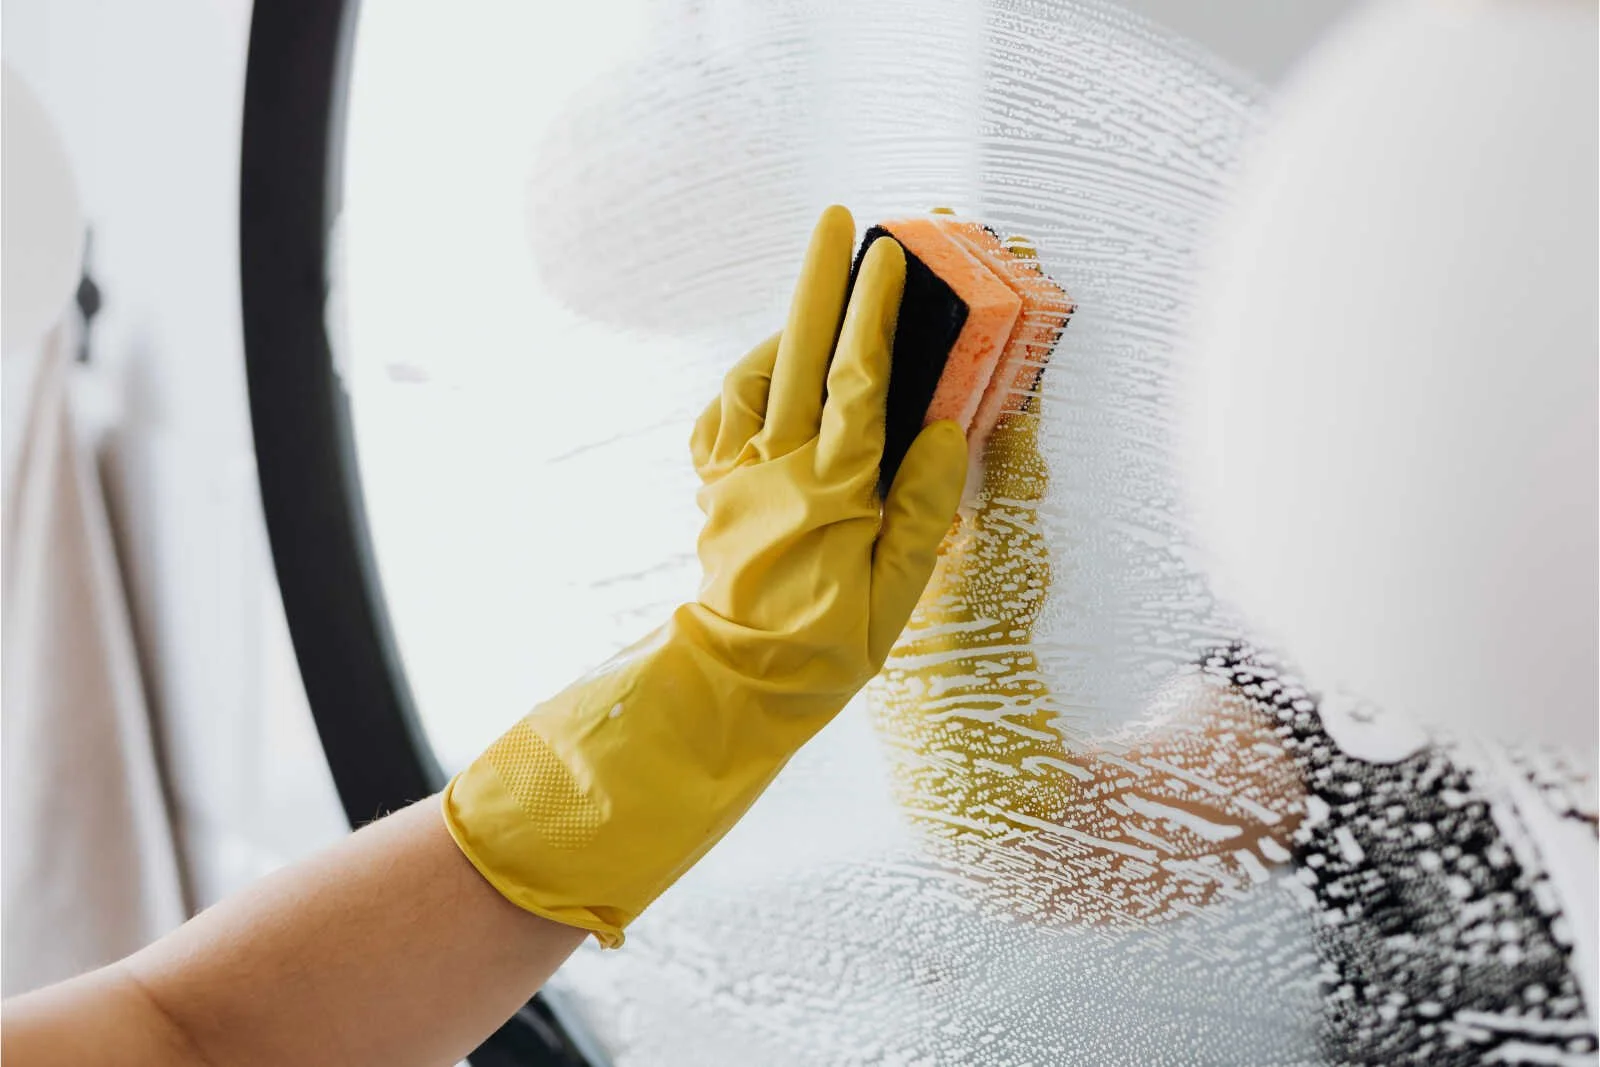
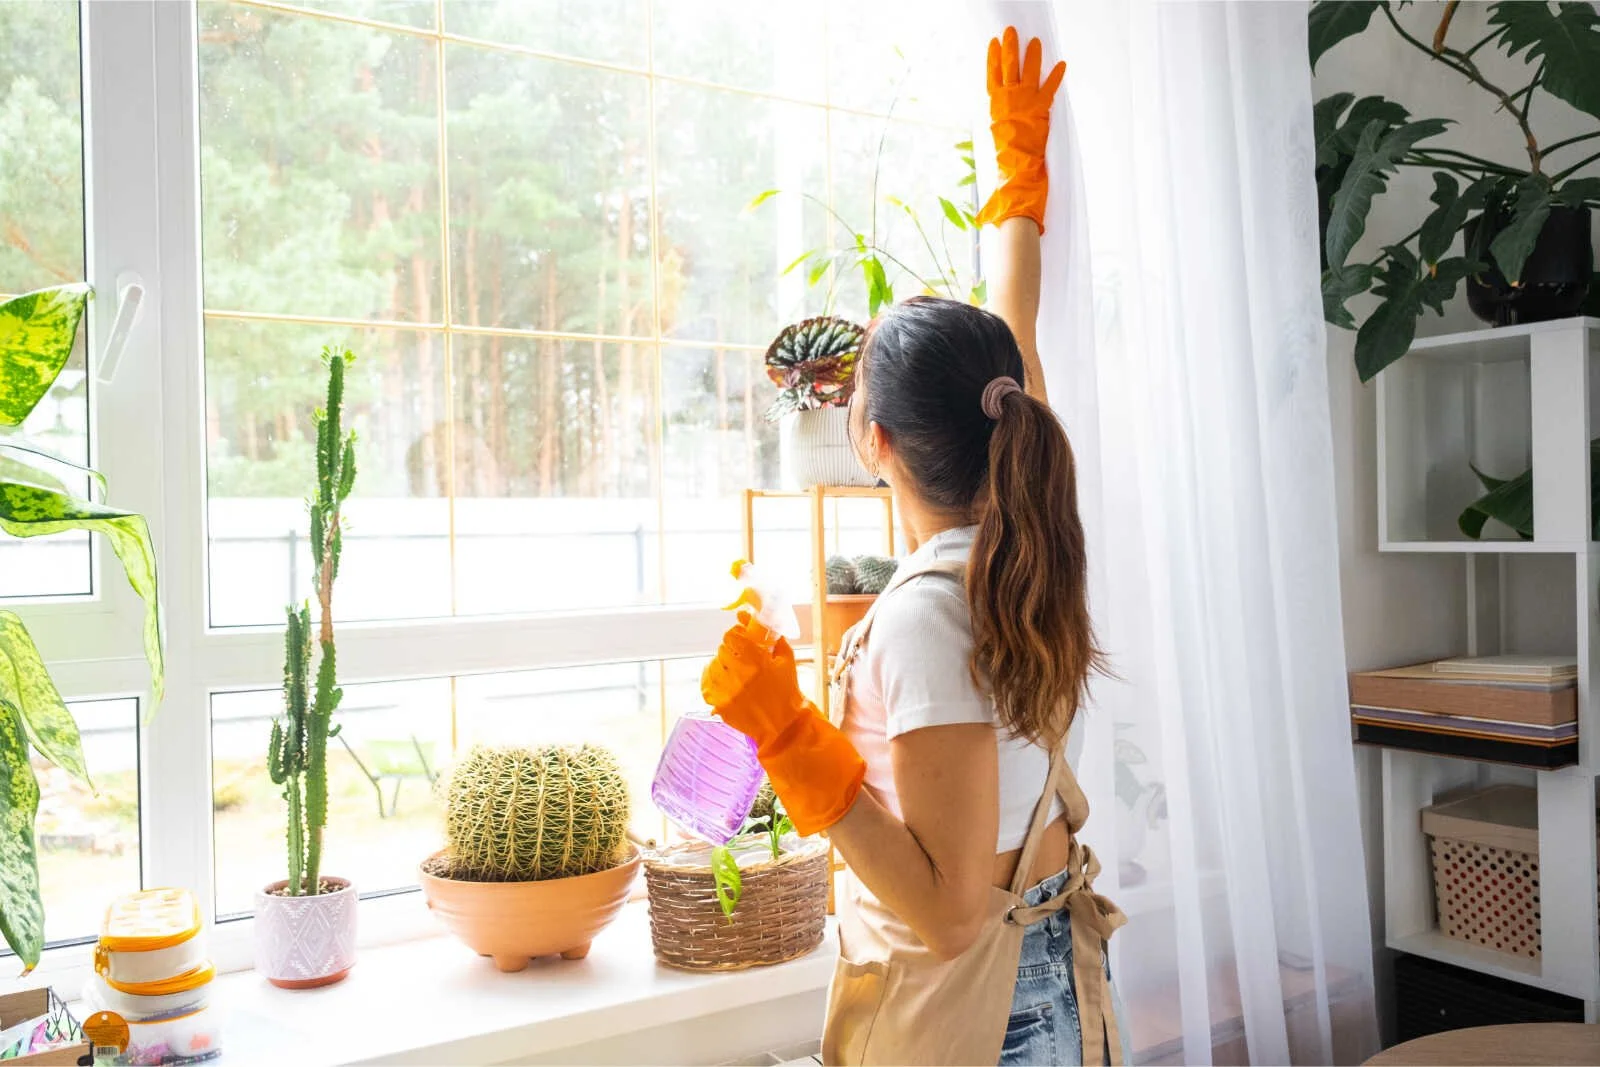
Step 2: Windows & Window Treatments
Wash window glass inside and out using a squeegee or microfiber cloth and glass cleaner.
Wipe down window sills and tracks.
Take down curtains to wash or dry-clean them. Dust blinds with a damp cloth or a dedicated blind cleaning tool.
Step 3: Furniture & Upholstery
Remove all cushions from sofas and chairs. Vacuum deep into the crevices (you might even find some loose change!).
If you have removable cushion covers, wash them according to the care label. For leather furniture, apply a high-quality leather conditioner.
Dust and polish wooden furniture, including coffee tables, side tables, and media consoles. Move furniture away from the walls to vacuum the dust bunnies hiding behind them.
3. The Bedrooms: The Sanctuary Zone
Your bedroom should be a peaceful oasis. Spring cleaning here is all about improving air quality and refreshing textiles for better sleep.
Step 1: Bedding Deep Clean
Strip the bed entirely. Wash your sheets, pillowcases, and duvet cover.
Don't skip the pillows and comforter! Most synthetic and down pillows can actually be machine-washed on a gentle cycle. Add two tennis balls or dryer balls to the dryer to keep them fluffy.
Rotate and Flip the Mattress: Vacuum the top of your mattress using the upholstery attachment. Spot-clean any stains with a mixture of dish soap, baking soda, and hydrogen peroxide. Sprinkle baking soda over the whole mattress, let it sit for an hour to absorb odors, and vacuum it off.
Step 2: Wardrobe Refresh
Go through your closet. Switch your heavy winter wardrobe out for your spring and summer clothes.
As you switch them, evaluate each item. If you didn't wear it all winter, consider donating or selling it.
Wipe down closet shelves and vacuum the closet floor.
Step 3: Dusting Details
Dust lampshades with a lint roller—it works like magic to pick up dust from fabric shades.
Clean mirrors, picture frames, and decorative knick-knacks on nightstands and dressers.
4. The Bathrooms: The Deep Sanitation Zone
Bathrooms require serious sanitization to combat mold, mildew, and hard water stains that accumulate over months of hot showers.
Step 1: Soak and De-Scale
Showerheads and Faucets: If your showerhead has weak flow due to mineral buildup, fill a plastic bag with white vinegar, secure it over the showerhead with a rubber band, and let it soak for a few hours. The lime scale will wipe right off.
Apply a generous coating of tub-and-tile cleaner to the shower walls, tub, and grout lines. Let it sit while you tackle the toilet and vanity.
Step 2: Vanity and Storage
Empty the medicine cabinet and vanity drawers. Safely dispose of expired medications, old makeup, and skincare products.
Wipe down the inside of drawers and organizers.
Clean the bathroom mirror and polish the faucet fixtures.
Step 3: Toilet, Tub, and Shower
Scrub the inside of the toilet bowl with a disinfectant cleaner. Wipe down the entire exterior of the toilet, including the base and behind the tank.
Go back to the shower and tub. Use a stiff-bristled brush to scrub the grout lines. Rinse thoroughly with warm water.
Wash or replace the plastic shower curtain liner. Throw fabric shower curtains into the washing machine.
5. Utility Rooms, Entryways, and Hallways: The High-Traffic Zones
These spaces are often forgotten during routine cleaning, but they act as the gatekeepers of your home’s cleanliness.
Step 1: The Mudroom & Entryway
Put away winter boots, heavy coats, gloves, and scarves.
Clean the welcome mat (shake it out vigorously and vacuum it).
Wipe down the front door, including the handle and the door frame. Clean any glass panes.
Step 2: The Laundry Room
Clean the Washing Machine: Run a hot cycle with a specialized washing machine cleaner or two cups of bleach to kill mold and bacteria hiding in the drum. If you have a front-loader, wipe down the rubber gasket thoroughly and leave the door open to dry.
Clean the Dryer Lint Trap: Empty the lint trap, then use a long, flexible dryer lint brush to clean out the vent chamber. A clogged dryer vent is a major fire hazard and slows down drying times.
Wipe down the exteriors of the washer and dryer.
The Finishing Touches (Whole-House Checklist)
Clean Air Vents and Grilles: Vacuum or wash them in warm, soapy water to remove accumulated dust.
Replace HVAC Air Filters: Crucial for trapping pollen and dust during spring allergy season.
Test Smoke and Carbon Monoxide Detectors: Check that they are working properly and replace batteries if needed.
Sanitize High-Touch Surfaces: Wipe down all light switches, doorknobs, and cabinet handles—the ultimate germ hotspots.
Deep-Clean the Floors: Professional clean carpets, polish hardwood floors, and give tile or linoleum a thorough mopping as your final step.
How to Stay Motivated and Not Burn Out
Let’s be realistic: doing all of this in a single Saturday is an explicit recipe for exhaustion. Unless you live in a tiny studio apartment, true spring cleaning takes time.
Here is how to stay sane throughout the process:
Spread It Out: Create a "Spring Cleaning Week." Dedicate just one hour every evening to a specific room, or split the work over two consecutive weekends.
Enlist Help: If you share a home, spring cleaning should be a team sport. Divide tasks fairly. Kids can easily dust baseboards, sort toys, or wipe down lower cabinets.
Reward Yourself: Set a reward for when you complete a major milestone. Order takeout from your favorite restaurant after finishing the kitchen, or buy a fresh bouquet of spring flowers for your freshly polished dining table.
Enjoy the Fruits of Your Labor
When you reach the end of your checklist, step back and take a deep breath. Notice how much lighter, brighter, and more peaceful your home feels.
Spring cleaning is undeniably hard work, but the physical and mental rewards are completely worth it. By investing the time to care for your living space now, you set yourself up for a breezy, relaxed, and clutter-free spring and summer.
Open up those windows, let the warm breeze roll in, and enjoy your beautifully clean home!