How to Level a Concrete Floor Properly | Complete DIY Guide, Tools & Expert Tips
Leveling a concrete floor is one of the most important tasks before installing flooring like tiles, hardwood, carpet, or vinyl flooring Dubai, and doing it correctly makes a huge difference in the longevity and finish of your project. Whether you’re a first-time DIYer or improving your skills, this guide gives you step-by-step methods, tools, and professional tips so you can properly level your concrete floor with confidence.
This guide is a blend of expert techniques and actionable DIY steps inspired by trusted sources:
Adtech Flooring – Concrete leveling methods and pro tips
DryPro Systems – Full concrete leveling guide
Industrial Flooring – Correct leveling steps
RS Components – Tools and supplies advice

Why Leveling a Concrete Floor Matters
Uneven concrete can cause:
Poor appearance: Cracked or bumpy surfaces make your flooring look unappealing.
Flooring failures: Tiles may crack or lift; hardwood floors may warp.
Trips and safety hazards: Uneven floors can lead to accidents.
Loose furniture or wobbling fixtures: When floors are not level, furniture may rock or shift.
Proper leveling helps ensure a strong foundation for any finishing surface. This is especially important before installing laminate flooring, as an uneven base can affect its fit and durability. It also prevents future issues that arise from slopes, dips, or bumps. A level concrete floor can even improve energy efficiency, as it ensures better insulation for your home.
Tools & Materials You’ll Need
Before you begin, gather the essential tools:
✔️ Spirit level or laser level — checks floor flatness
✔️ Concrete grinder or floor scraper — removes high spots
✔️ Self‑leveling concrete or underlayment
✔️ Primer — improves adhesion
✔️ Mixing drill and paddle — for compound mixing
✔️ Trowel & gauge rake — spread the leveling mix
✔️ Spiked shoes or roller — eliminates bubbles
✔️ Vacuum & broom — for surface preparation
Step‑By‑Step Concrete Floor Leveling Guide
1. Inspect & Prepare the Surface
Before adding any leveling mix:
Remove all floor debris, dust, paint, and coatings. Vacuum thoroughly to ensure a clean surface.
Fix any cracks or holes with a patching compound, allowing it to set before proceeding.
Mark high and low points using your spirit level or laser tool. This helps you focus your leveling efforts in the right areas.
Good preparation prevents the leveling compound from peeling later.
2. Grind Down High Spots
Use a concrete grinder to grind down any bumps and create a flat base. This step is crucial as it ensures your leveling compound adheres better and provides a smooth finish. Grinding down high spots also ensures that the surface is uniform, preventing the new floor from having bumps and dips.
3. Prime the Floor (Important)
A primer helps the leveling mixture bond to the concrete, especially if the surface is porous.
Spread the primer evenly across the floor. Allow it to dry before the next step.
Without a primer, the leveling compound may delaminate or crack, so don’t skip this step.
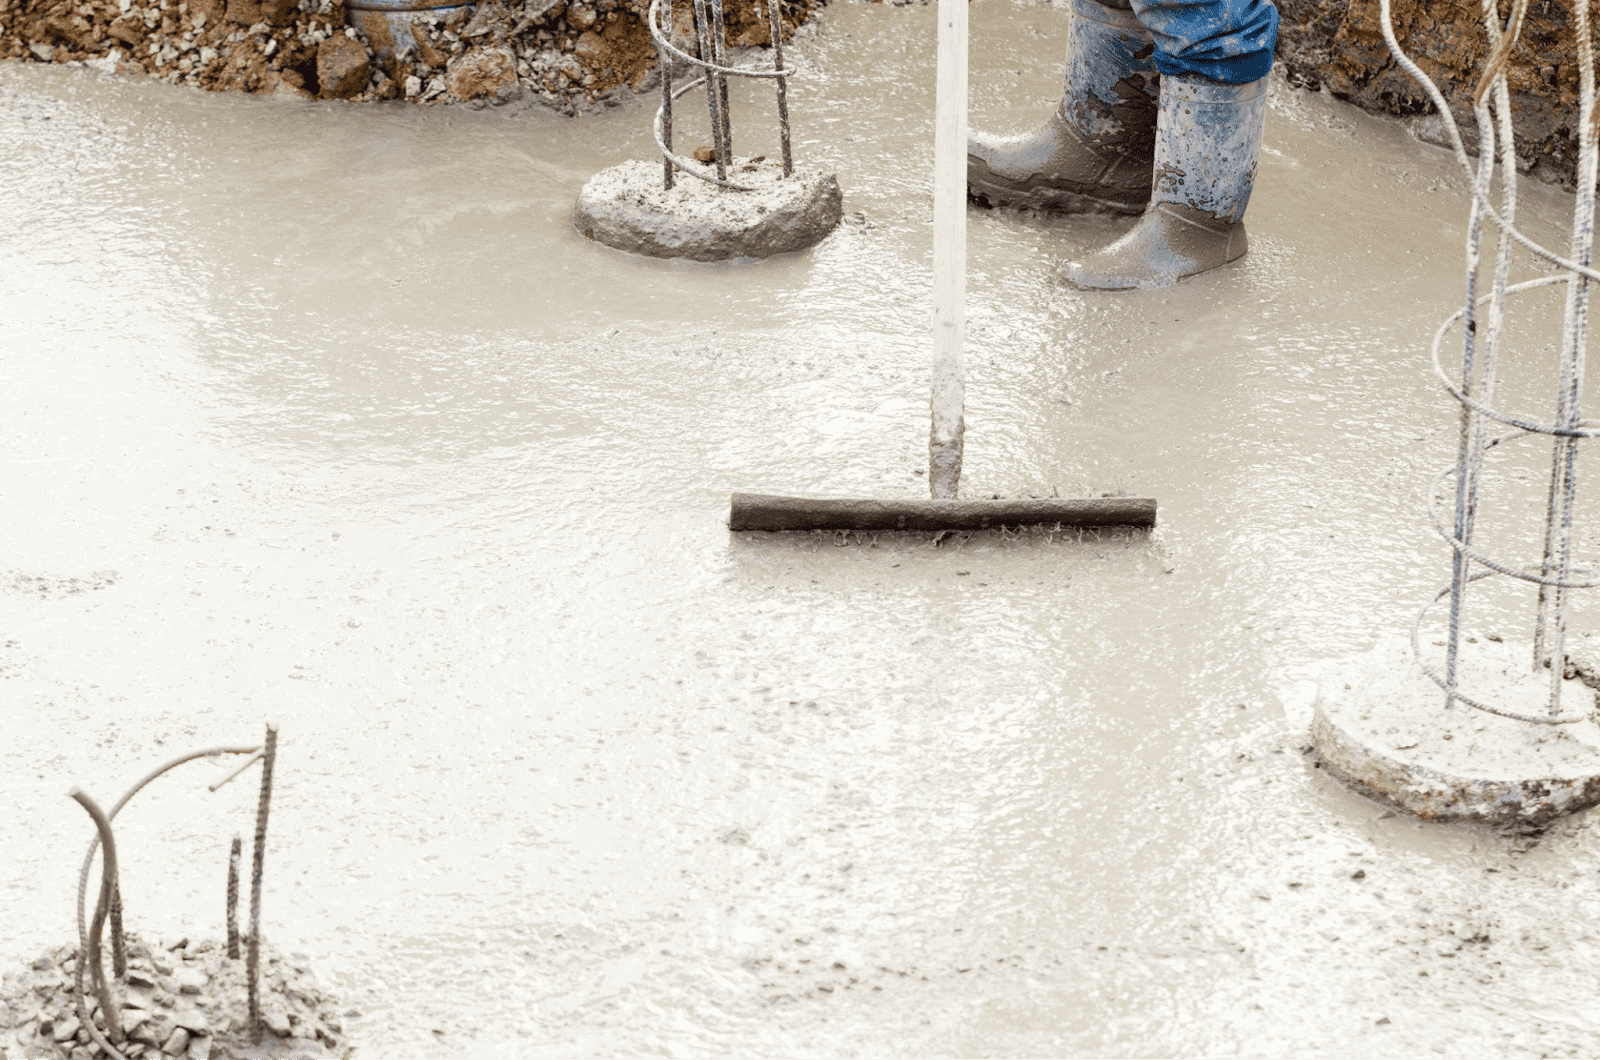
4. Mix & Pour the Self‑Leveling Compound
Follow manufacturer directions carefully:
📌 Mix only as much as you can pour within ~20–30 minutes. Self-leveling compounds can cure quickly, so don’t prepare too much.
📌 Start at the far corner of the room and work your way out. Pour the mix and allow it to flow naturally — it will seek its own level.
📌 Use your gauge rake and trowel to spread and fill low areas. This ensures that the floor stays flat and level.
Image suggestion: Show an image of the self-leveling compound being mixed or poured onto the floor.
5. Walk & Smooth (with Care)
Wear spiked shoes — these let you walk on the wet concrete without leaving impressions.
Roll or float with a trowel to remove any surface bubbles and achieve a smooth finish.
Tip: Using a roller with spikes can help release air bubbles and achieve an even finish.
6. Cure & Final Inspection
Most self‑leveling mixtures need 24–48 hours to set before light foot traffic.
Wait until fully cured before installing flooring materials.
Final Inspection:
Do a final check with your level. If needed, touch up minor dips or uneven areas before proceeding. The floor should be as smooth and even as possible before adding your final flooring surface.
Expert Tips & Common Mistakes
Expert Tips:
Tools matter: A good level, grinder, and proper mixing paddle make the job easier.
Work fast once mixed: Leveling compounds begin to cure quickly, so be prepared.
Use the right compound: Always choose the correct compound thickness for your floor's condition.
Common Mistakes:
Don’t skip cleaning or primer: Dirt and moisture can prevent proper bonding.
Ignoring manufacturer instructions: Always follow the compound manufacturer's thickness guidelines.
Applying too thick or too thin a layer: A layer that’s too thin can crack, and one that’s too thick may fail to level correctly.
DIY vs. Professional Leveling
You can DIY for interior floors using self‑leveling compounds or grinding methods, especially if the surface is relatively even and only needs minor touch-ups. However, if the floor has structural issues or heavy settling, a professional may be the safer choice to avoid long‑term problems.
Image suggestion: Include a split image showing DIY leveling vs. professional leveling with visuals.
Additional Data and Considerations
Cost of DIY vs. Professional Leveling
DIY Costs: Typically between $100–$300, depending on the tools you already own and the type of leveling compound used.
Professional Leveling: Expect to pay $2–$5 per square foot, depending on the complexity of the job and the materials used.
Note: A professional service might be required if your floor is severely damaged or requires foundation work.
Conclusion
Leveling a concrete floor properly doesn’t have to be difficult or intimidating. As long as you follow the right steps, use the correct tools, and take the time to prepare, you can achieve a flat, smooth surface ready for your new flooring.
With this complete DIY guide, you now have the skills and knowledge to make any concrete floor flat, strong, and ready for its finishing surface.
Ready to get started? Begin with surface cleaning and leveling tool setup — and you’re well on your way to professional‑quality flooring results!