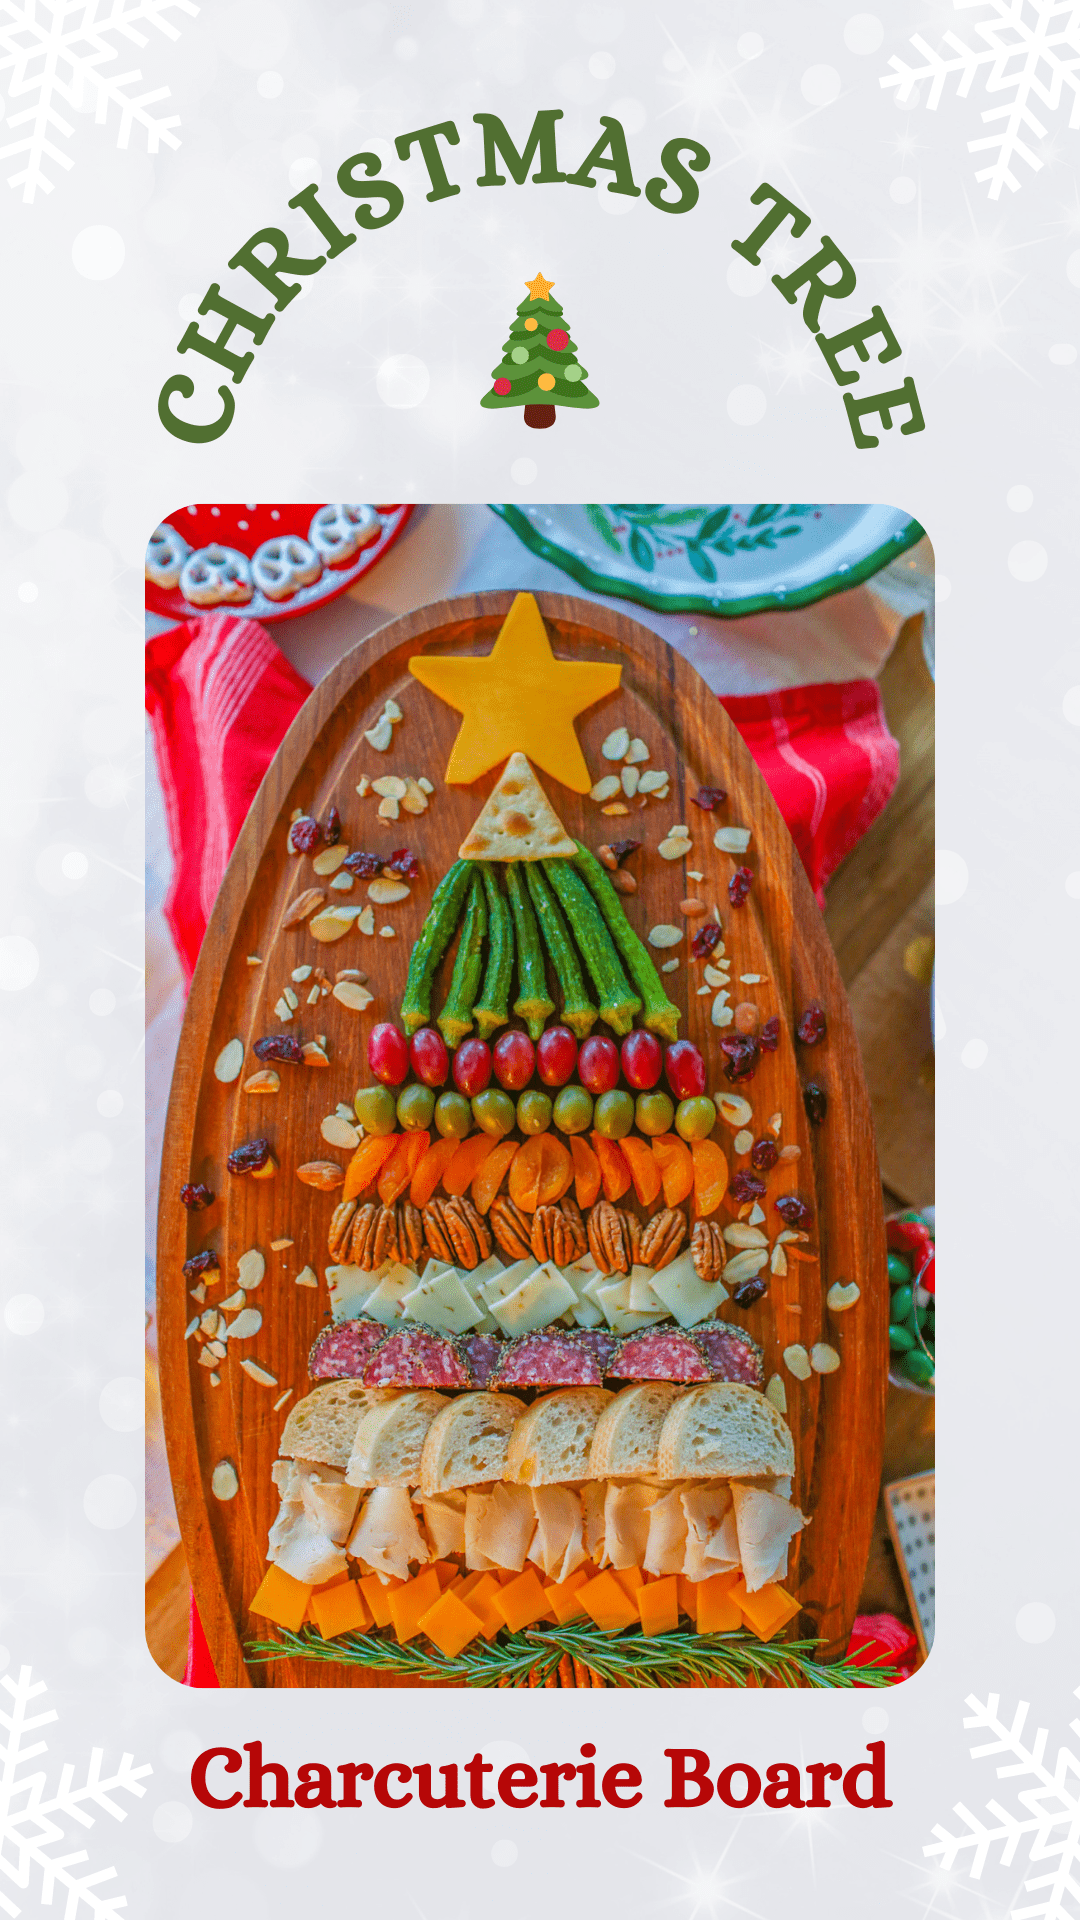
Creating a Christmas Tree Charcuterie Board in 3 Simple Steps

A big thank you to Boar’s Head and Safeway for sponsoring this blog post.
We are officially entering into the month of December, which means the magical holiday season is upon us. It’s a time for gathering with family and friends, spending quality time with loved ones.
Putting out a spread of food is a must and one of my favorite ways to feed a crowd is with an impressive charcuterie board filled with an abundance of foodie favorites.
If you’re new to building charcuterie boards, fret not! These culinary creations may look tricky or intimidating, but I promise it’s actually quite simple when you follow my easy steps. And the best part is that there’s really no wrong way to build a charcuterie board, it’s all about what you and guests like to eat!
What is a Charcuterie Board?
The simple definition of a charcuterie board is an appetizer dish which is typically served on a stone or wooden board. This one board is community shared and meant to feed multiple guests at a gathering. The types of foods displayed on the board often include cured meats and cheeses, along with complimentary foods such as crackers, breads, fresh and dried fruits, nuts, olives and pickled vegetables.
Hosting Tips to Serving a Charcuterie Board
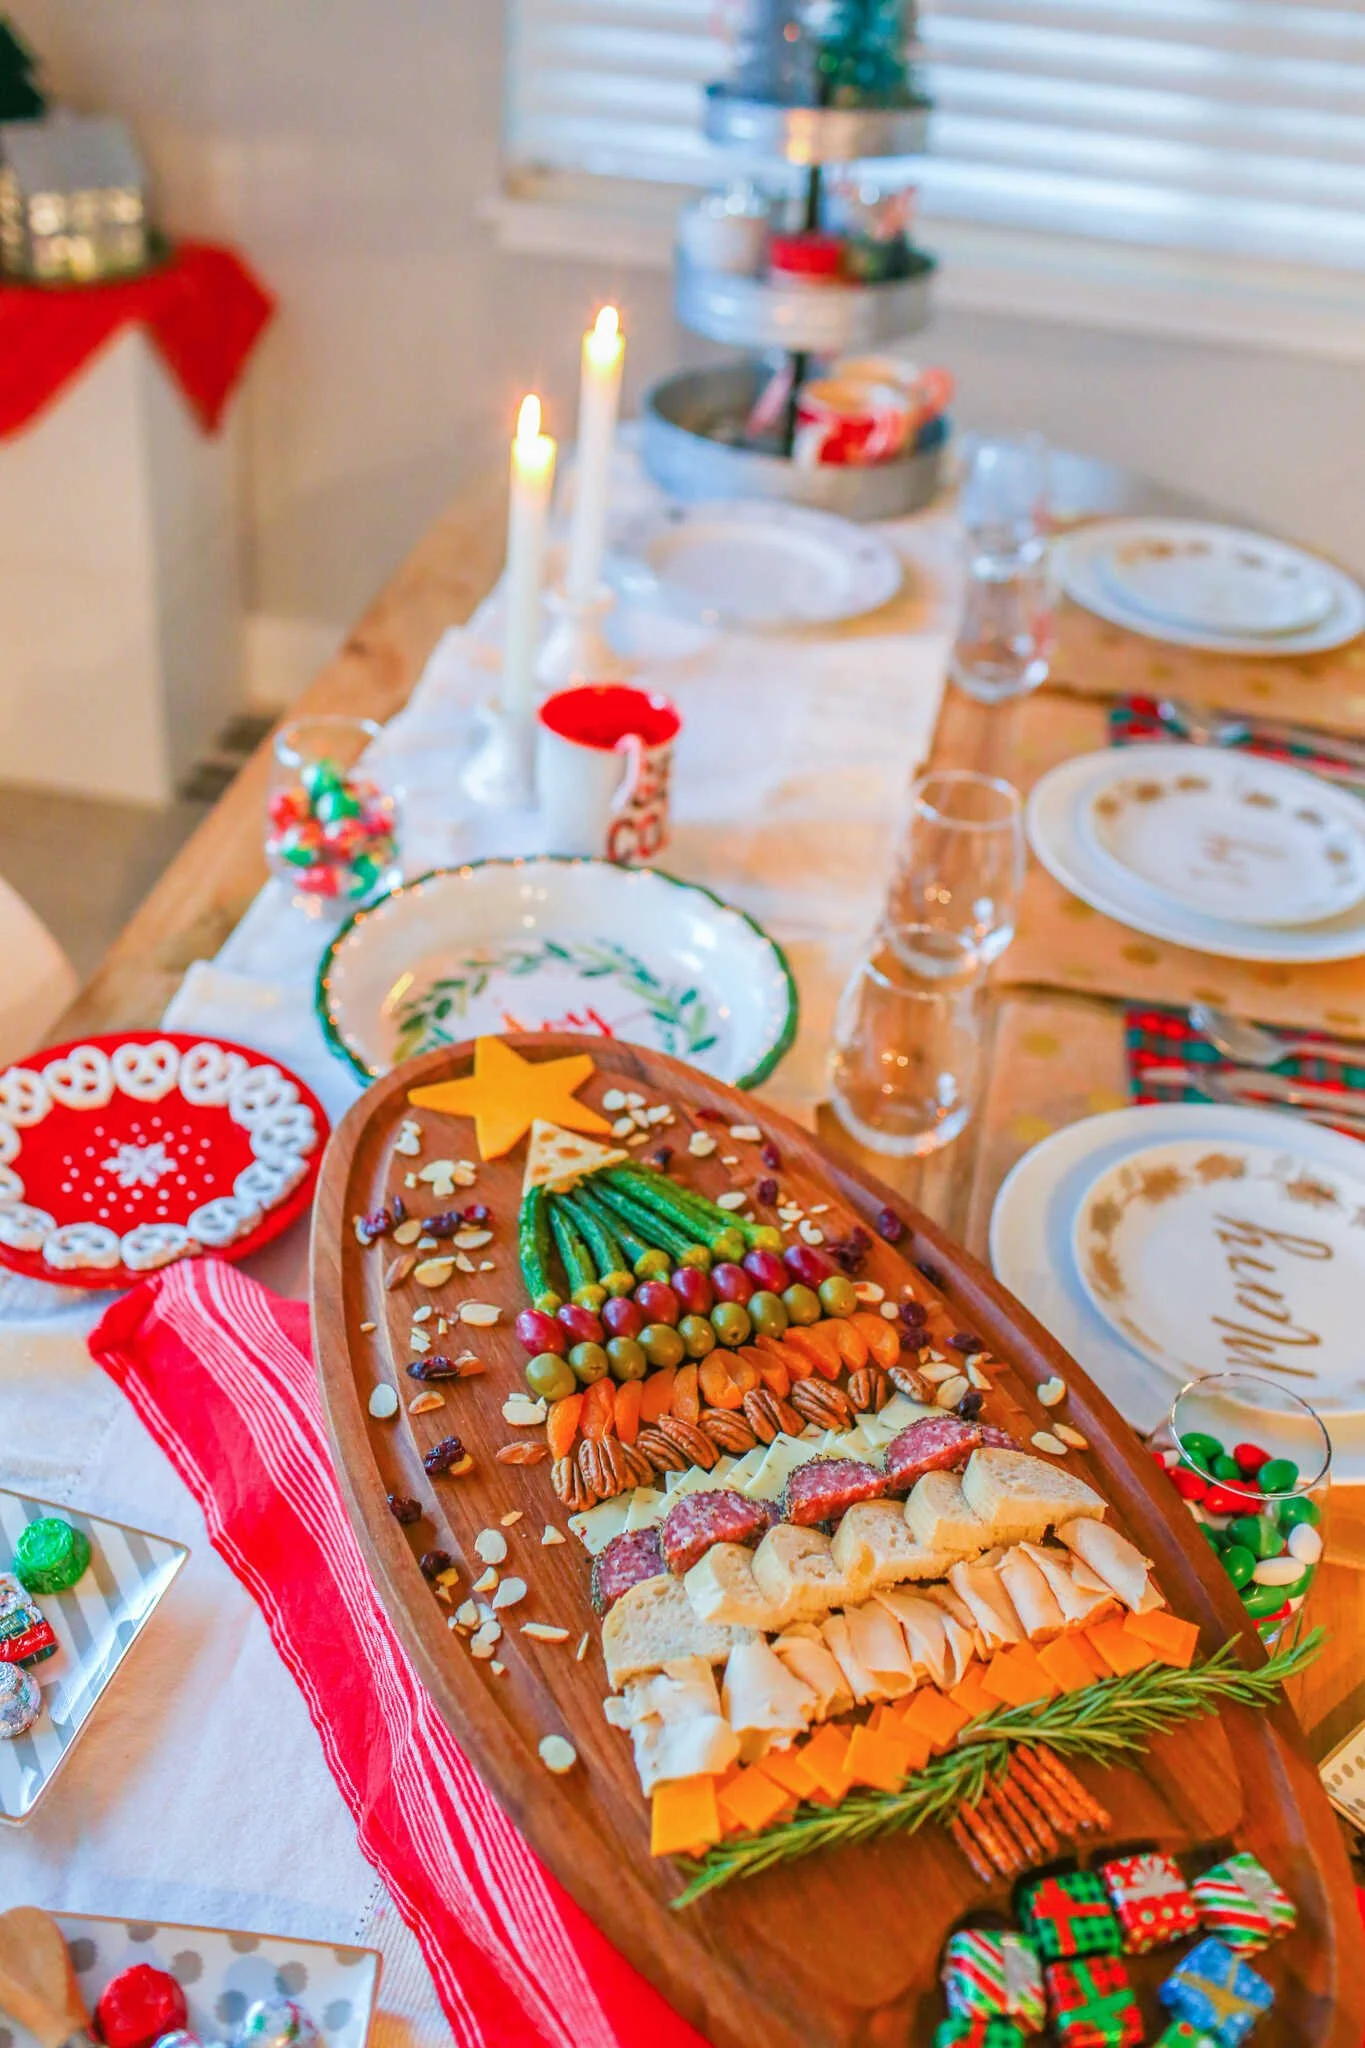
Having a central grazing table with a plethora of appetizers and drink options is a great way to invite guests to dig in. Put your finished charcuterie board as the centerpiece on the table.
It is customary to provide small plates for your guests to build their own food combinations. Be sure to provide toothpicks or utensils so guests can easily transfer food from the board to their own plates.
Watch our quick video tutorial on creating a Christmas tree charcuterie board in three simple steps. Turn the sound on to enjoy the holiday melody!
3 Simple Steps to Building Your Own Charcuterie Board
Step 1 - Building Out Your Ingredients List
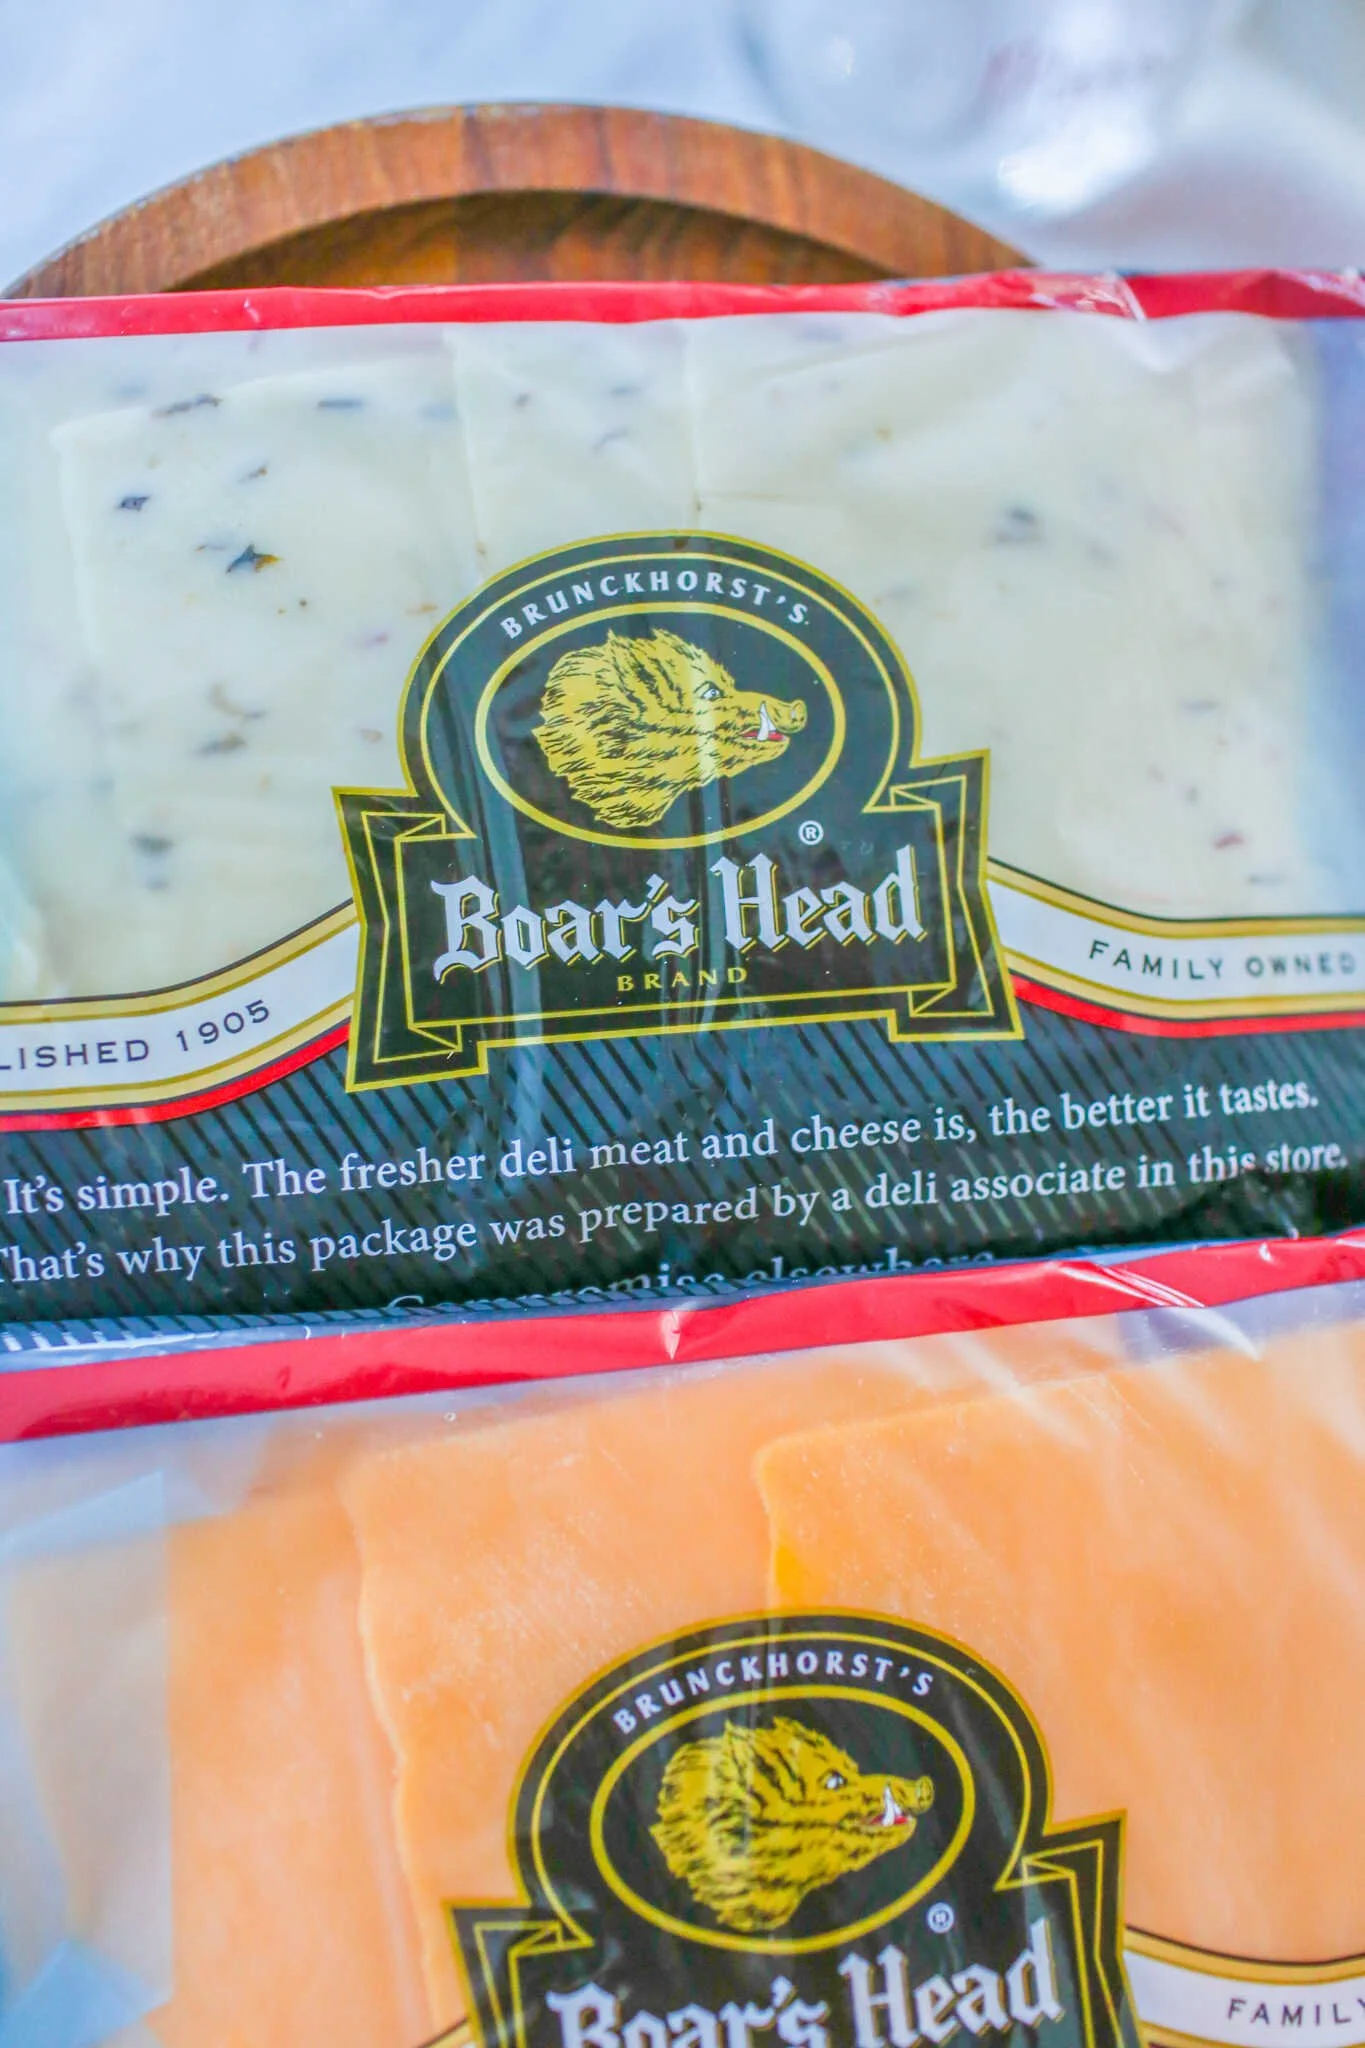
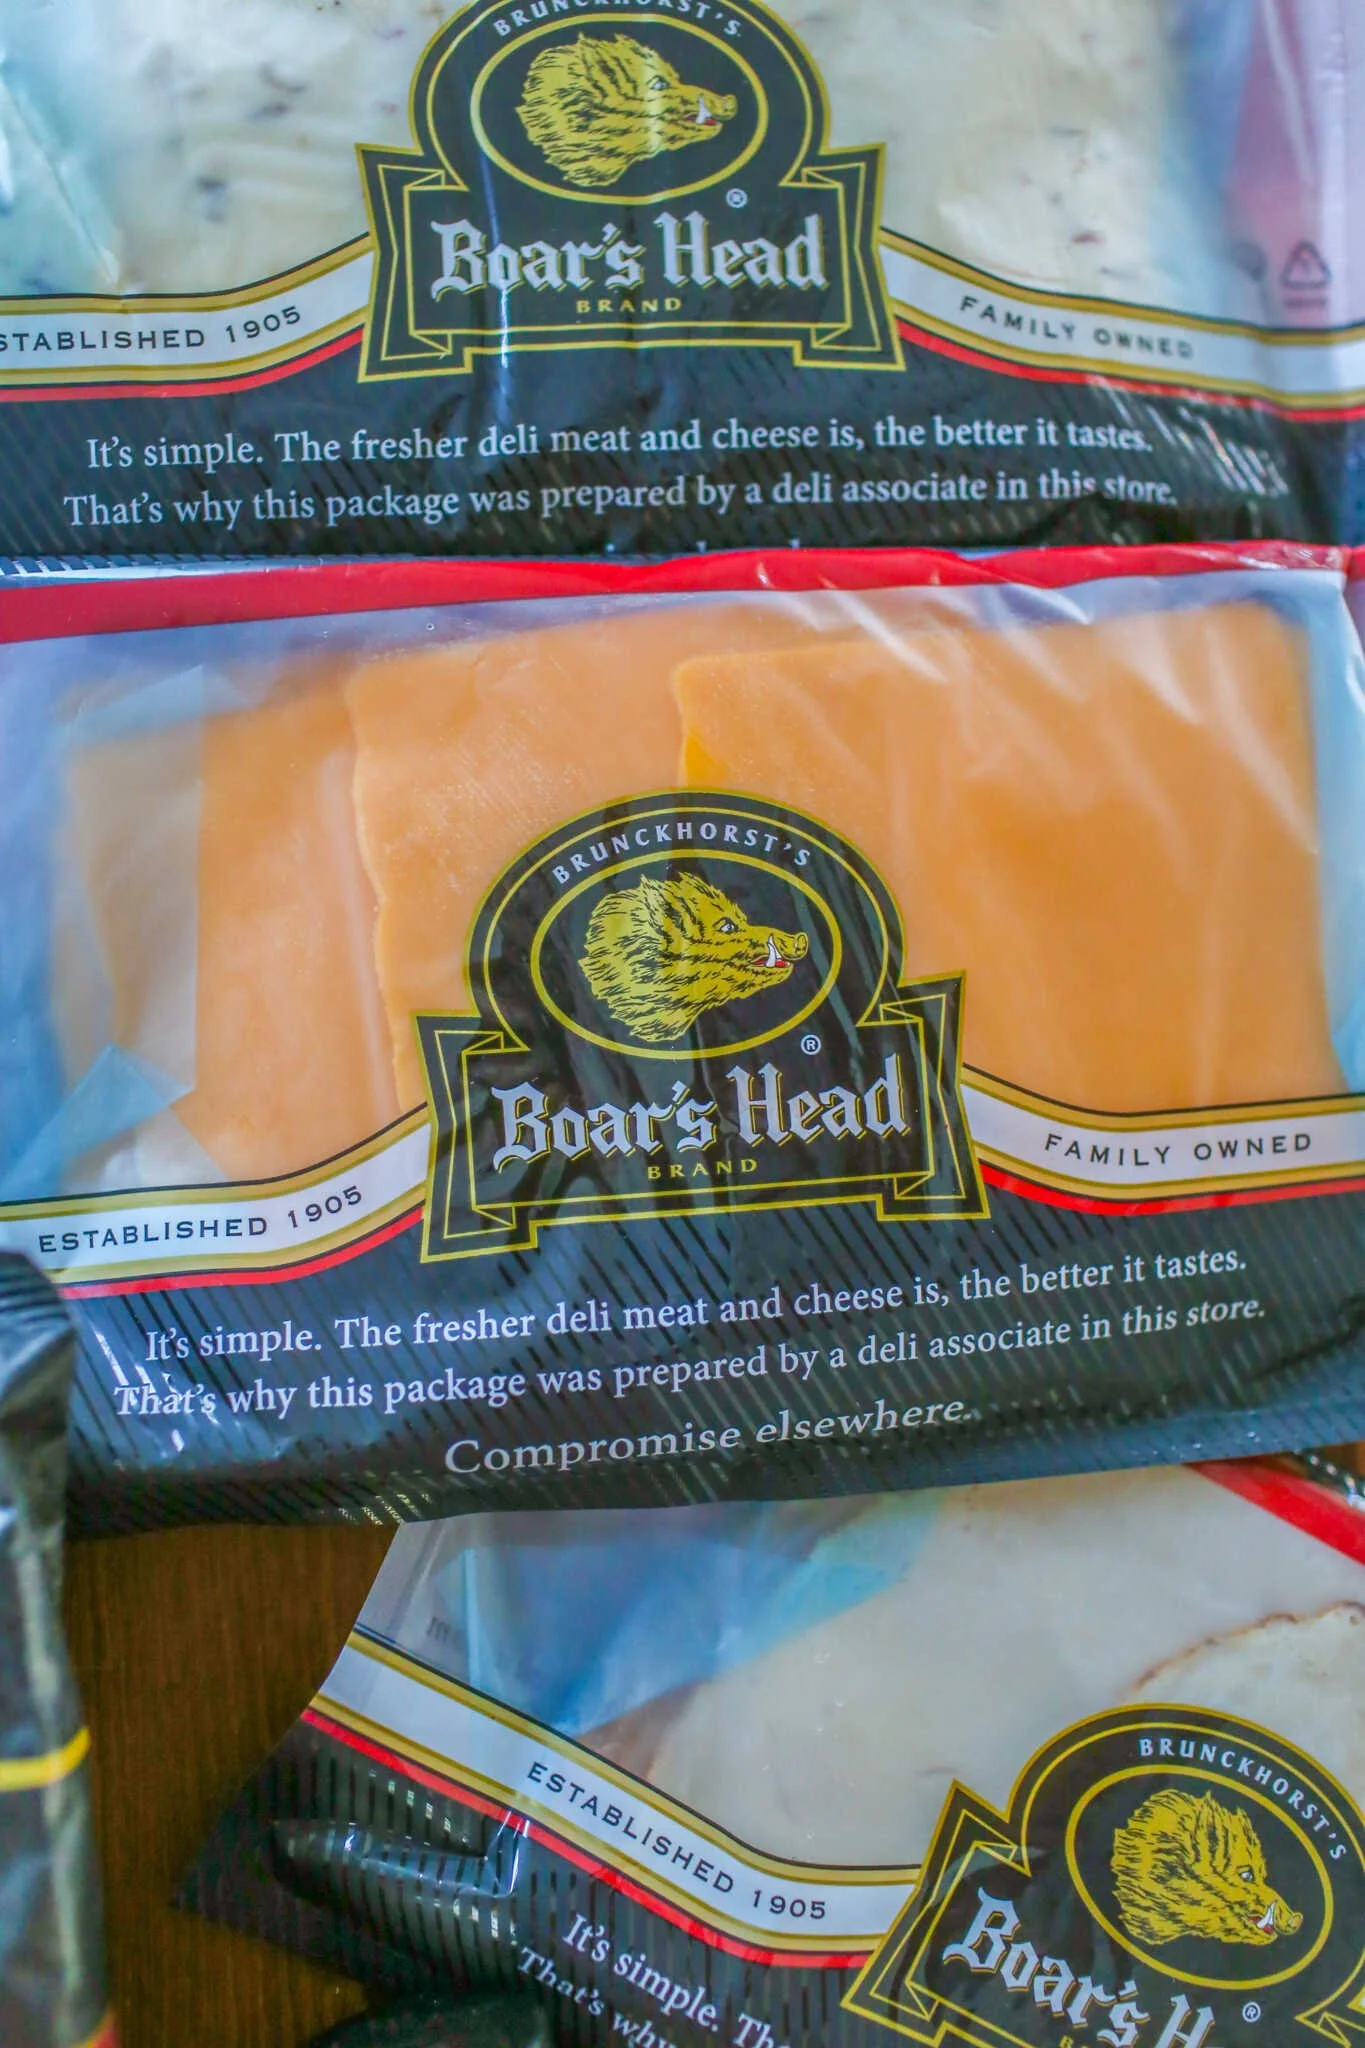
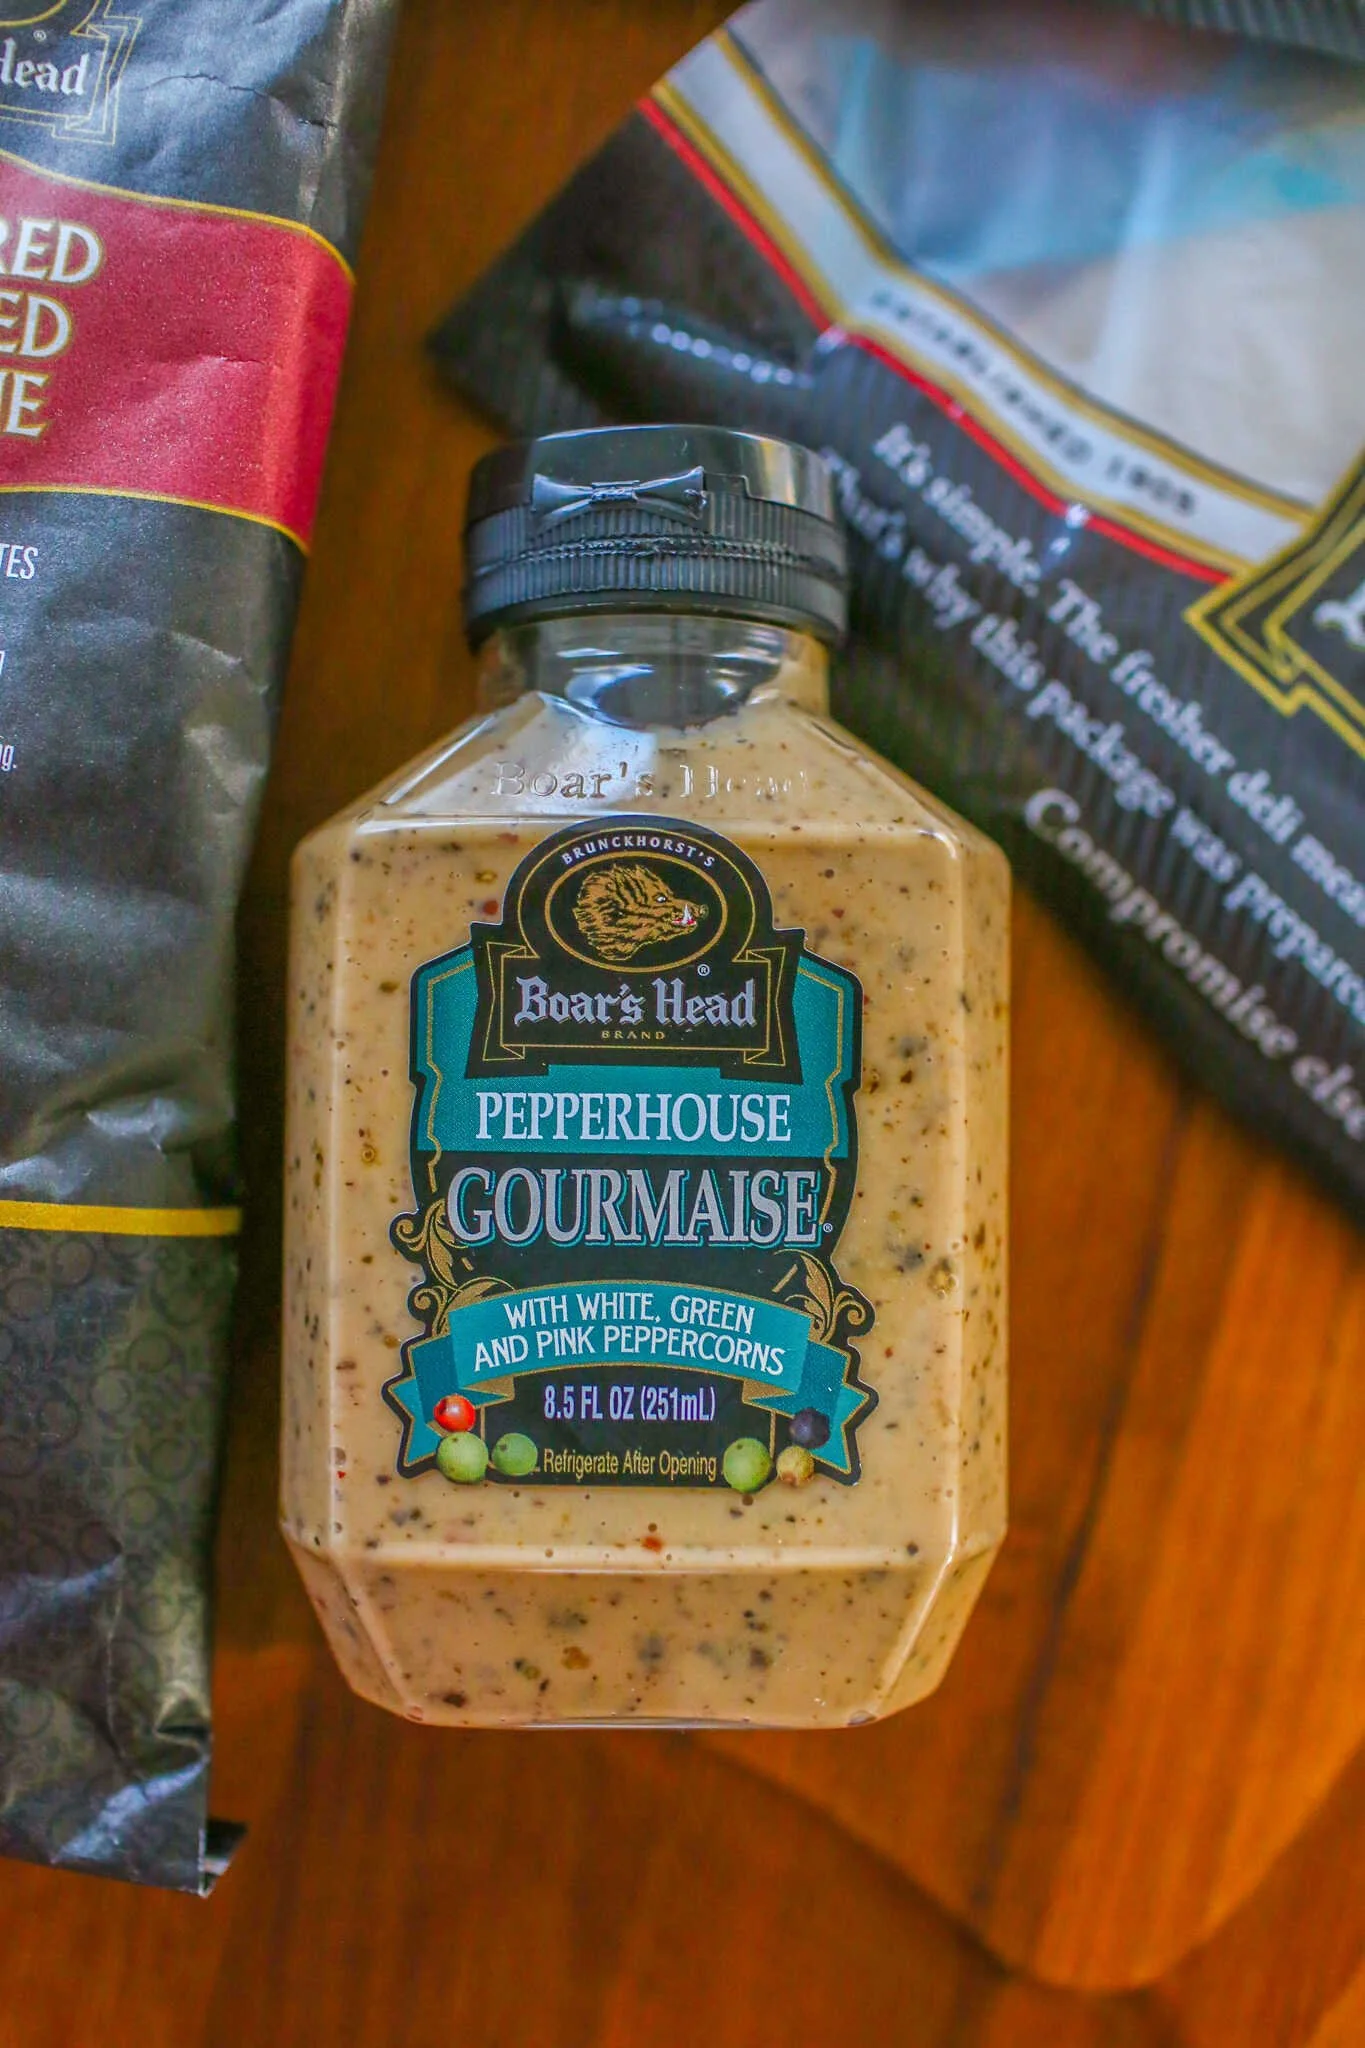
The best way to ensure your guests will enjoy eating tidbits from your charcuterie board is to use the highest quality food ingredients. My go-to brand for meats and cheeses is Boar’s Head which can be found in most local Safeway grocery stores. Boar’s Head is a premium family-owned supplier of delicatessen meats and cheeses, and you can really taste the difference in quality in their products. I also really love their spreadable condiments, which I provide for guests as an extra layer of flavor on their sliced bread.
A really easy guide to follow is the How 2 Charcuterie Guide with the rule 2-2-2 - pick 2 meats, 2 cheese and 2 accompaniments. This simple trick makes sure you provide your guests with enough variety while keeping your shopping trip to Safeway simple and efficient. Keep an eye out for the Boar’s Head How 2 Charcuterie displays inside Safeway stores, they’re a great visual to inspire your own board.
Check out Boar’s Head Perfect Charcuterie Pairings Guide for additional foodie inspiration!
Complimentary foods to the Boar’s Head meats and cheeses could be:
Olives
Small slices of french bread
Fresh fruit such as grapes and apple slices
Dried fruits such as apricots and cranberries
Safeway Select Mixed Nuts and premium nuts such as pecans and cashews
Safeway Select Crackers
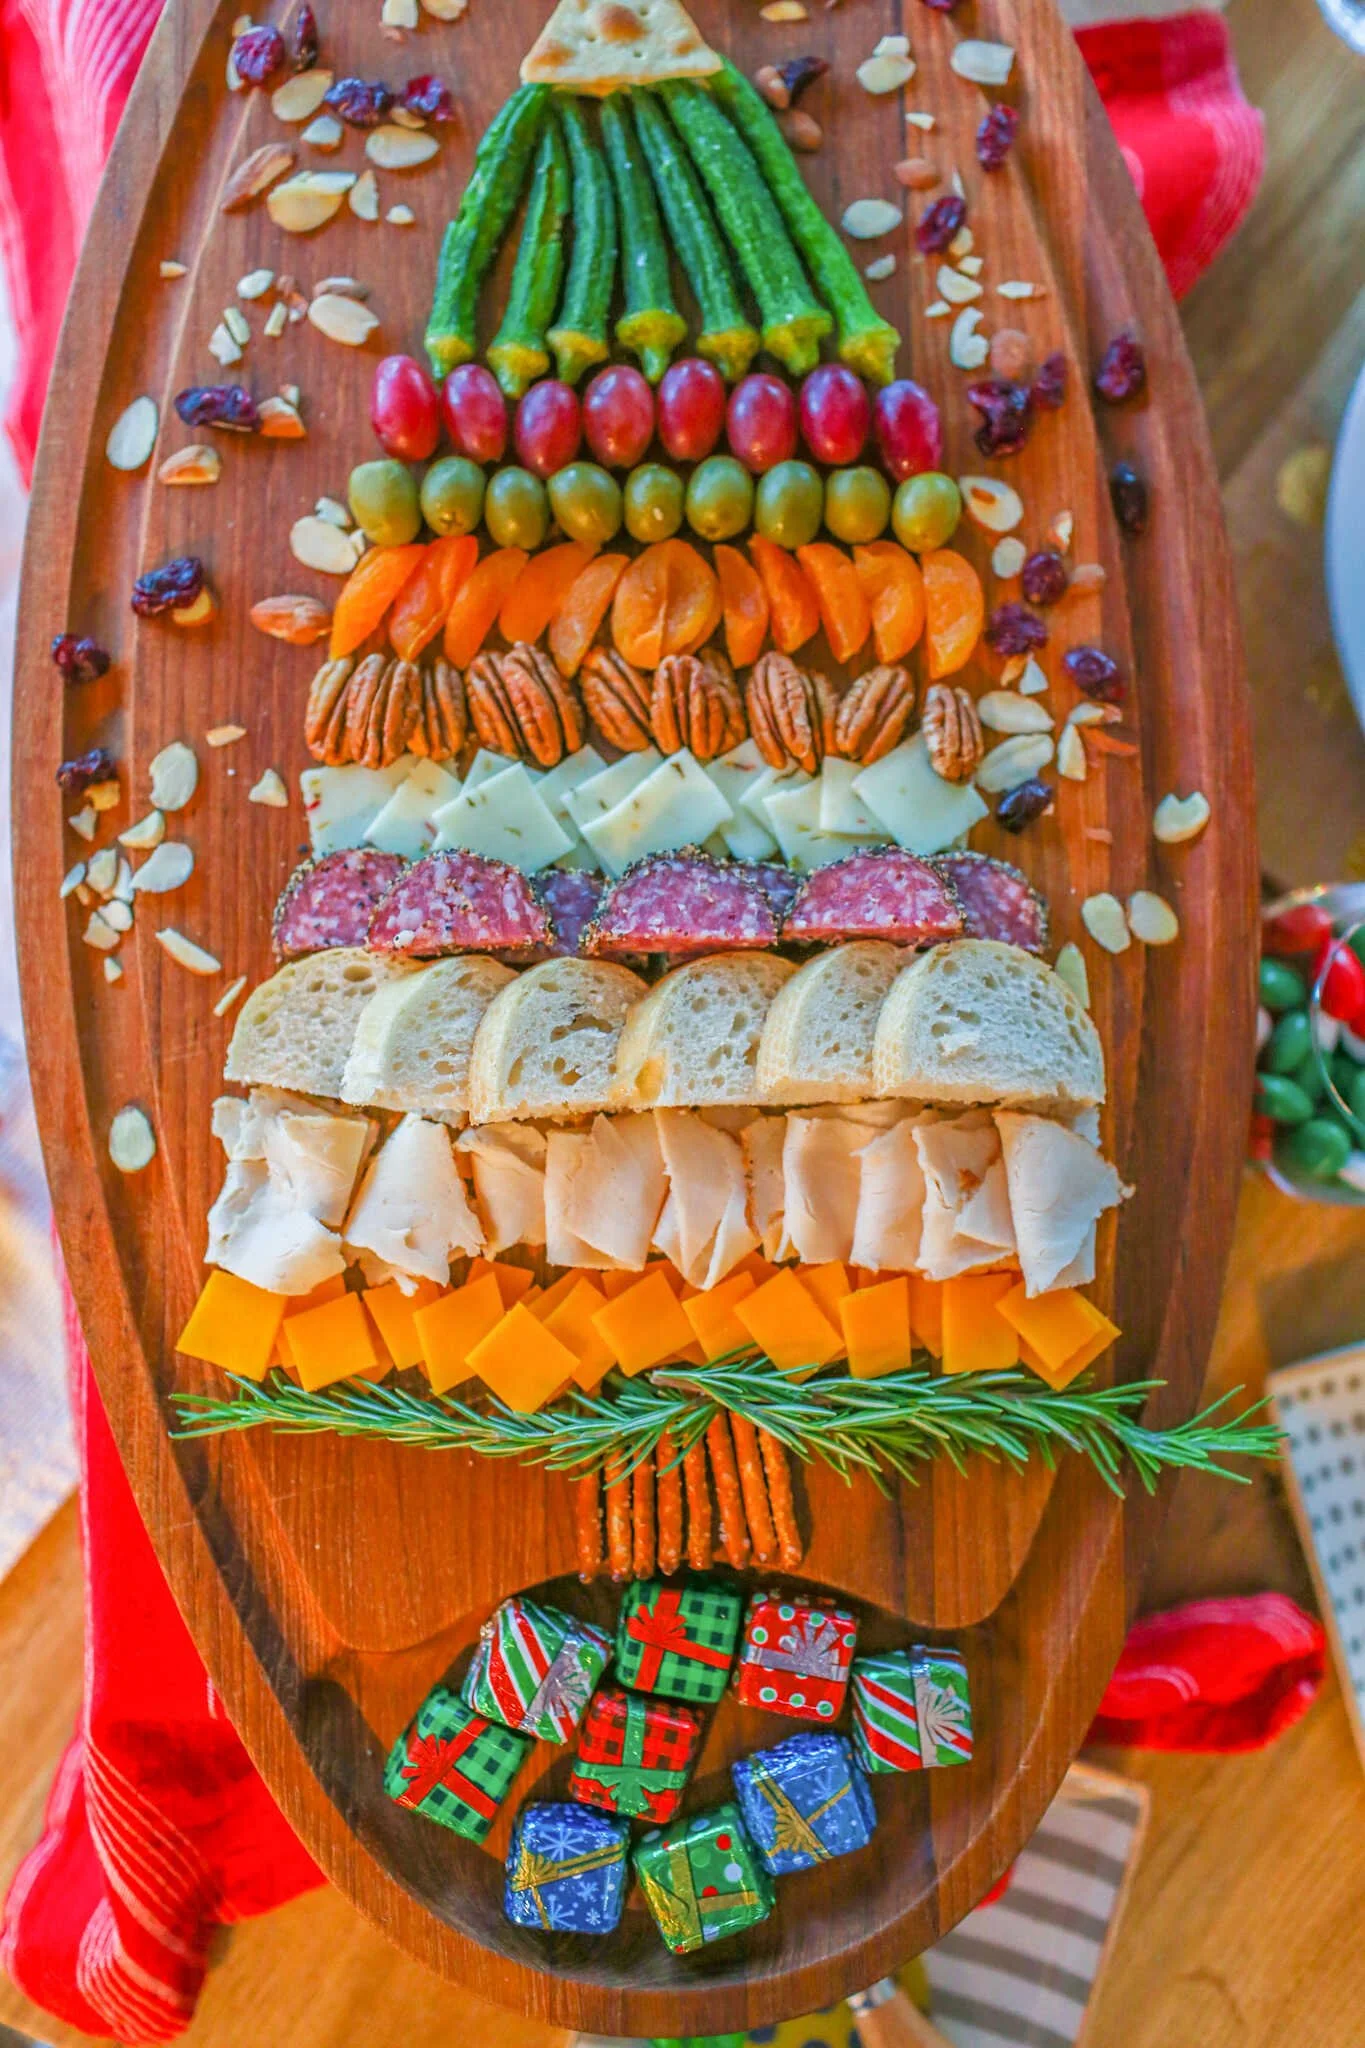
Vegetable chips (I used okra chips at the top of my tree for a more dramatic affect)
Pretzels (use stick pretzels for the base of your Christmas tree)
Fresh rosemary herbs as garnish and trim for your tree
Pro Tip: When I’m building out my ingredients list for a charcuterie board, I always check out the bulk foods section of my local grocery store to find some cool and less common snack foods to incorporate. This is how I stumbled across the okra chips. And buying bulk foods means you can purchase a small amount and not commit to a giant package.
Step 2 - Building Out Your Christmas Tree Charcuterie Board
First start by prepping and cutting all of your food into bite sized pieces. Salami slices should be cut in half, cheeses cut into small cubes, thin slices of bread, etc.
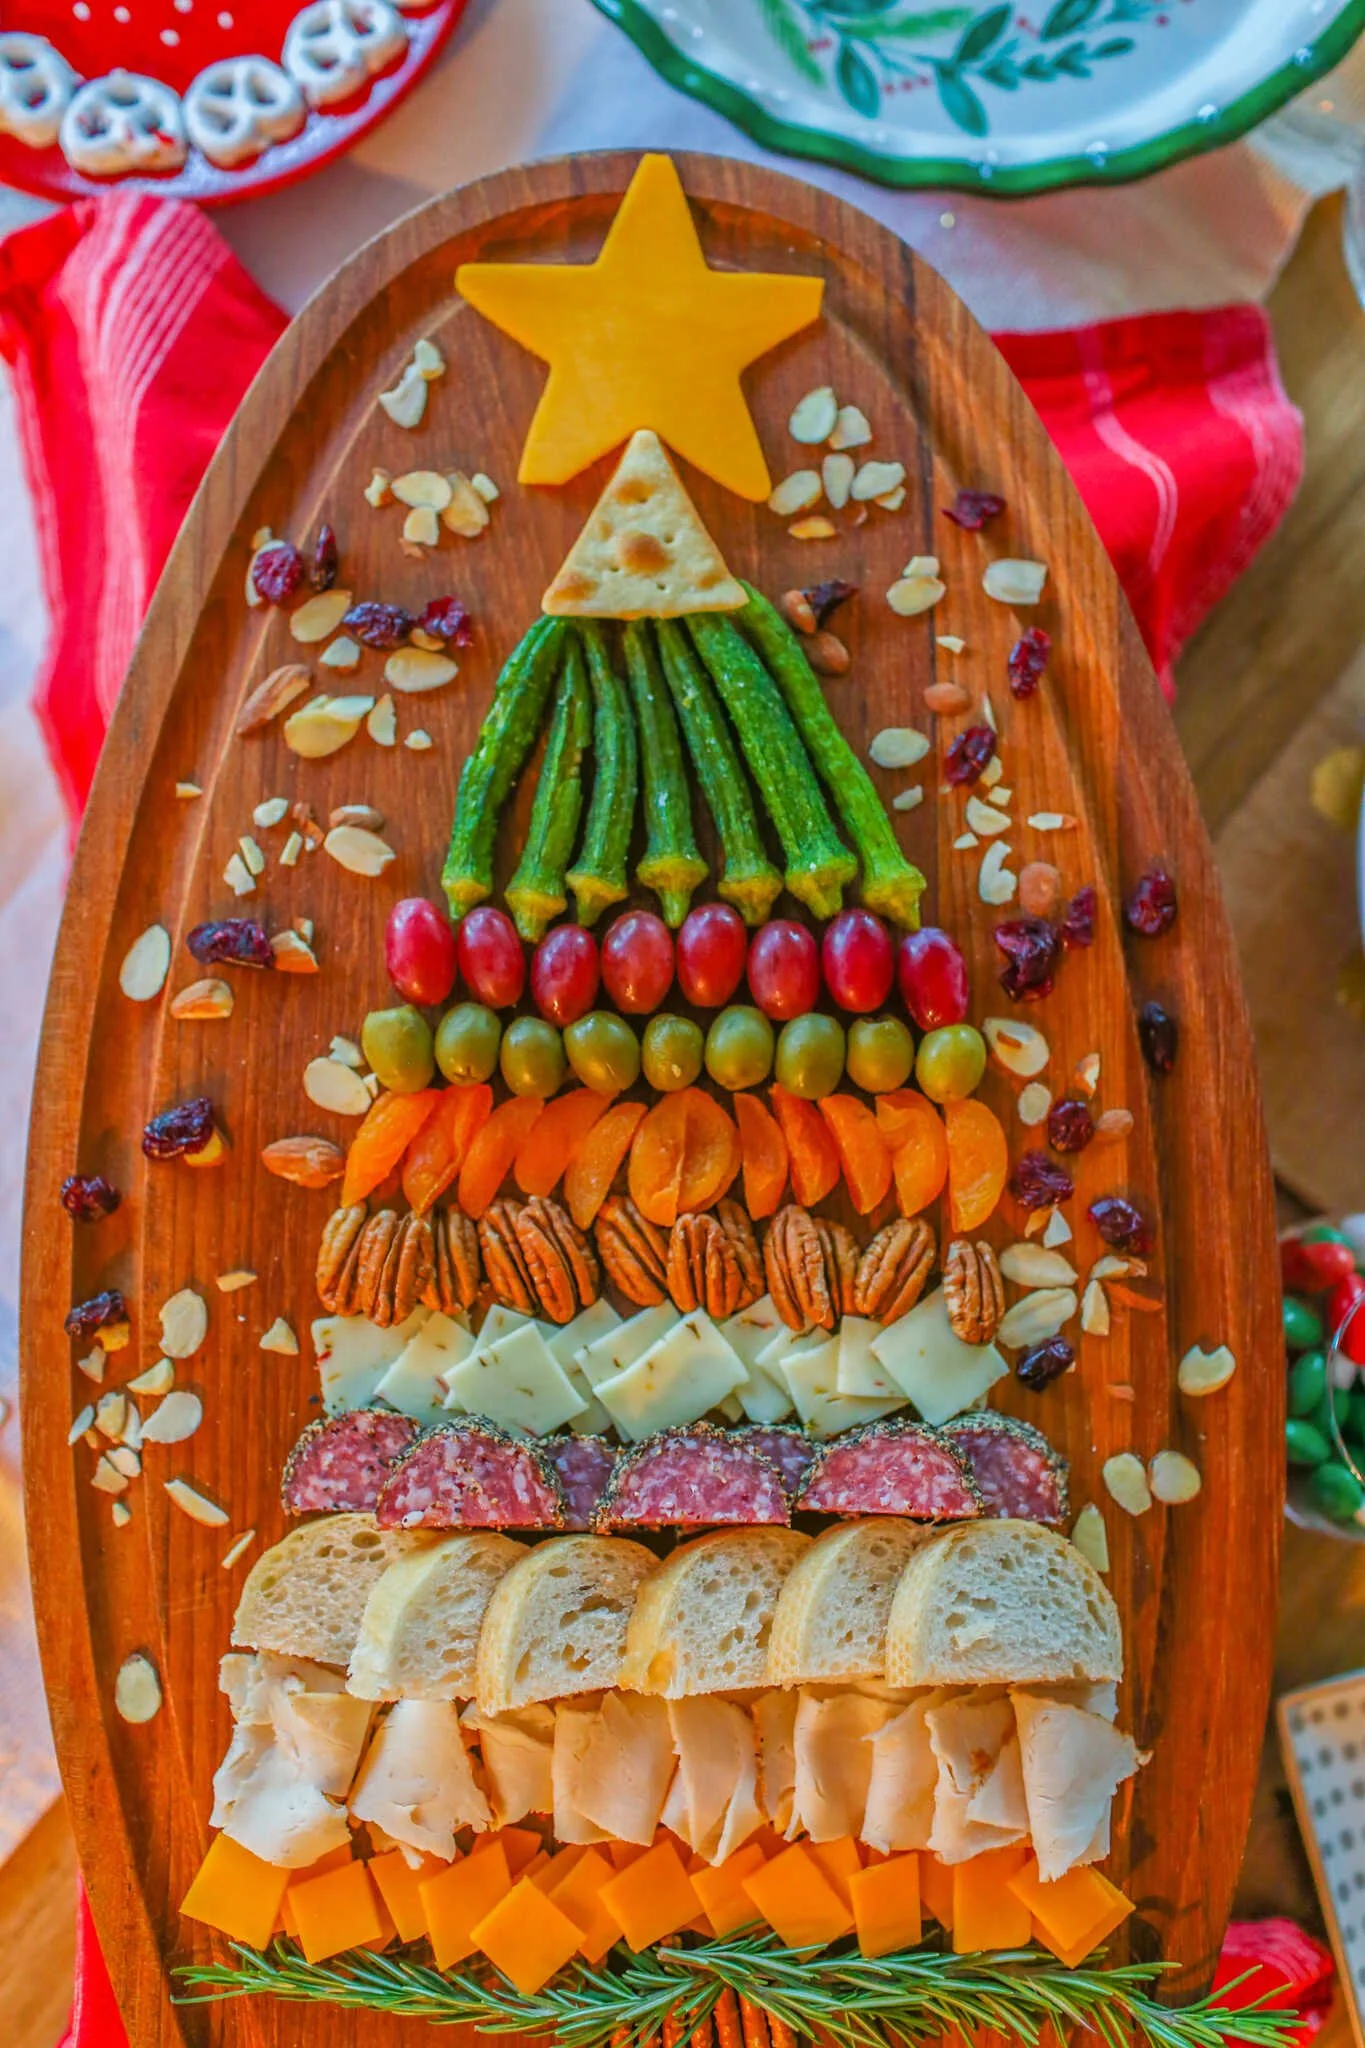
Using a medium to large wooden or stone board, position your board in a vertical portrait orientation so that you have plenty of space to build your tree upwards.
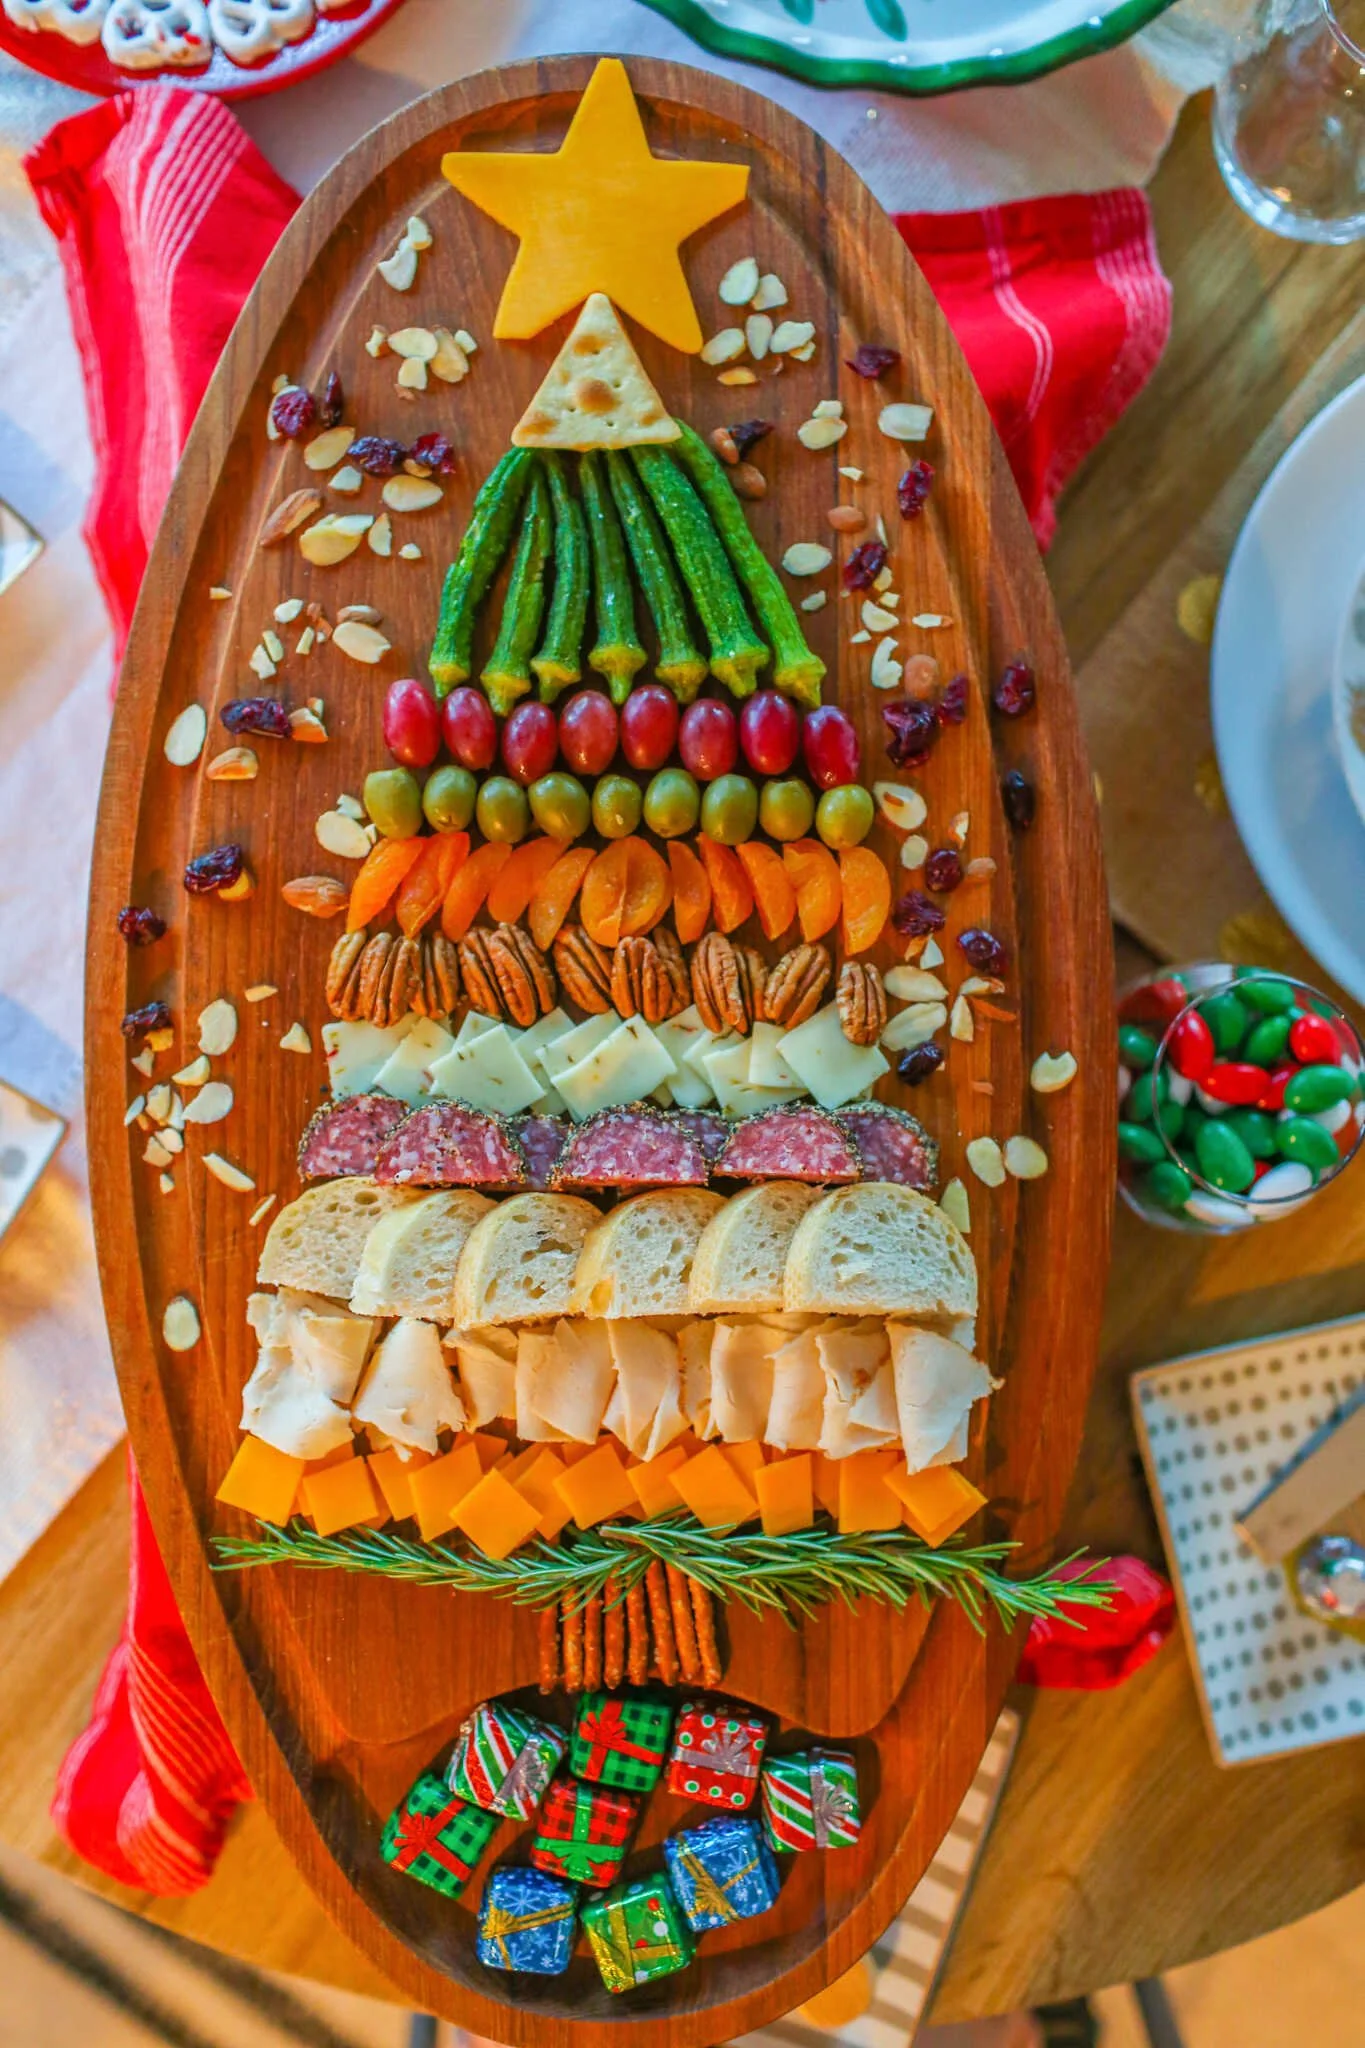
Start creating the tree trunk with a small handful of stick pretzels. If the pretzel sticks are a bit long, gently break them into small even pieces. Gather then together at the bottom of your board to create a trunk.
Next take stems of fresh rosemary herbs and lay them perpendicular to the pretzels, giving the illusion of the bottom layer of a Christmas tree (see photos for example).
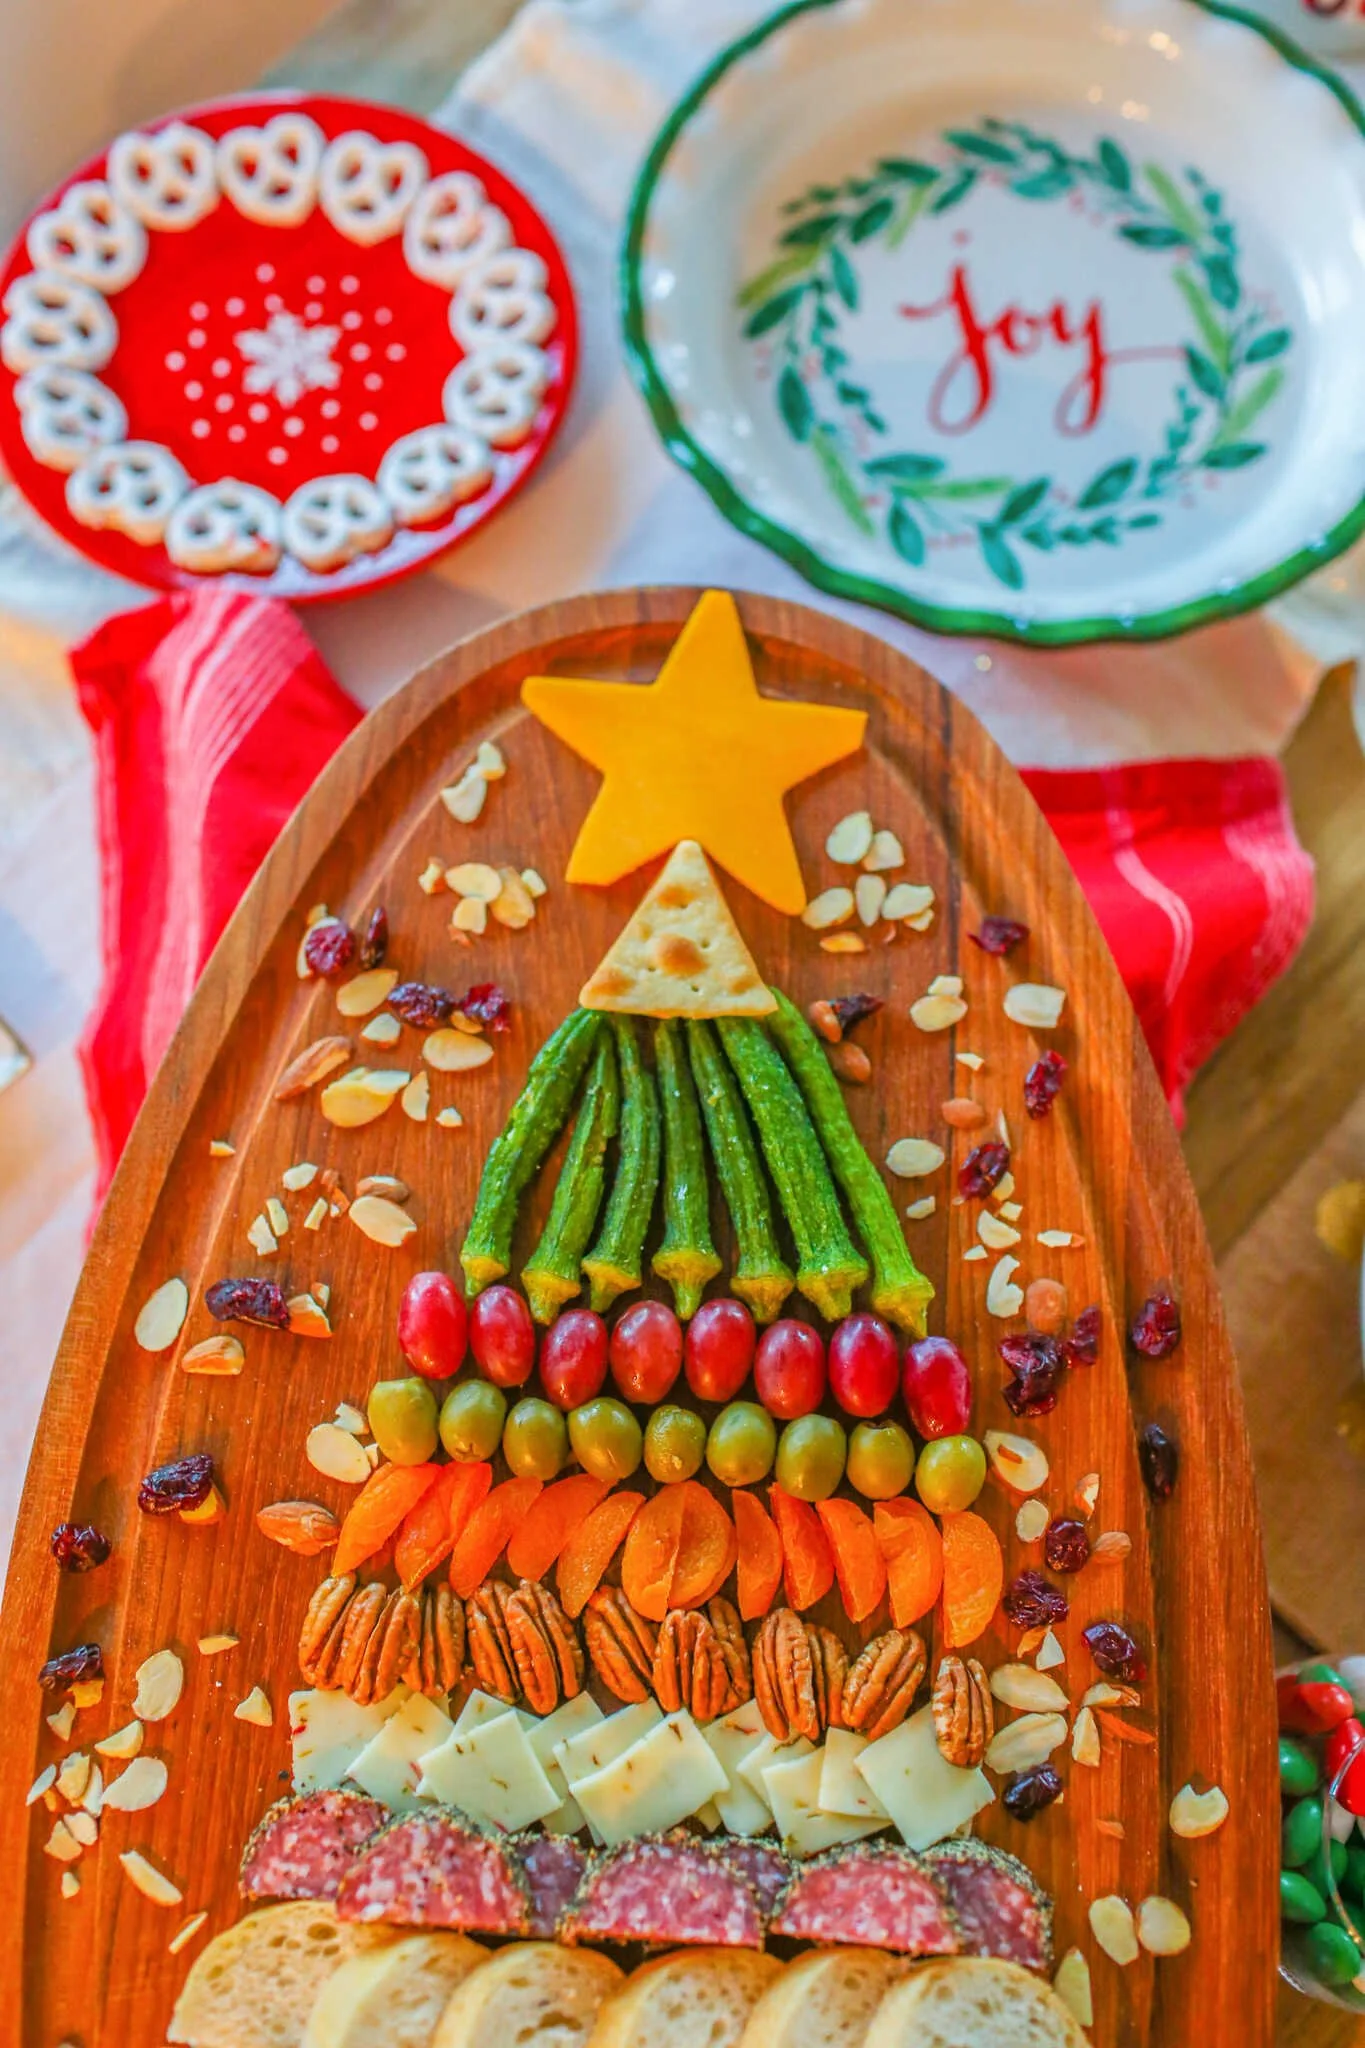
And now you can take all the prepped foods and just start building layers, each one a bit shorter than the last one, so that they create a triangle shape. Start with the heavier and bulkier pieces on the bottom and gradually lead up to lighter and thinner pieces.
Play around with your layers and adjust as you go. Don’t stress and let it get too overcomplicated, it’s supposed to be fun!
Pro Tip: With thin slices of meat, roll them up into little funnel shapes so that they look neat, and it’s easier for guests to pick them up with a fork or toothpick. I rolled up my Boar’s Head turkey slices and it worked great!
Step 3 - Add the Final Touches
I have some helpful tips to really bring your Christmas tree charcuterie board to life.
For the star on top of the tree, I used a star cookie cutter and I cut a thinly sliced piece of cheese into a star shape.
I found wrapped chocolates in the theme of presents and put them under the tree. You can add any kind of chocolates or sweets and put them under your tree for a special surprise for your guests.
To add the effect of sparkles, I sprinkled sliced almonds and dried cranberries in the empty areas of the board.
And voila! You’re done and ready to party!