Best Eye Makeup Tips for a Smooth, Bright, and Hydrated Eye Area
Ask any woman who has updated her makeup routine after 40 what surprised her most, and chances are the answer involves the eye area.
Not because eyes become harder to work with, but because so many products and techniques that once delivered effortlessly start behaving differently on skin that has naturally changed in texture, hydration, and density.
The good news: the fix is almost never more product. It is usually a smarter product. A formula that starts as a cream before it sets. A colour that refracts light instead of absorbing it.
A liner applied in three short strokes rather than one long sweep. These adjustments take minutes and can genuinely transform how the eye area looks and feels from morning through the end of the day.
This roundup pulls together the best expert-backed tips for keeping the eye area looking smooth, bright, and hydrated, along with the product choices and techniques that make each one work.
Tip 1: Hydrate before you apply anything
Dry eyelid skin and fine lines around the eyes are two of the main reasons eye makeup creases or settles into texture before the morning is over.
No setting spray, primer, or long-wear formula can fully compensate for a lid that has not been hydrated before application.
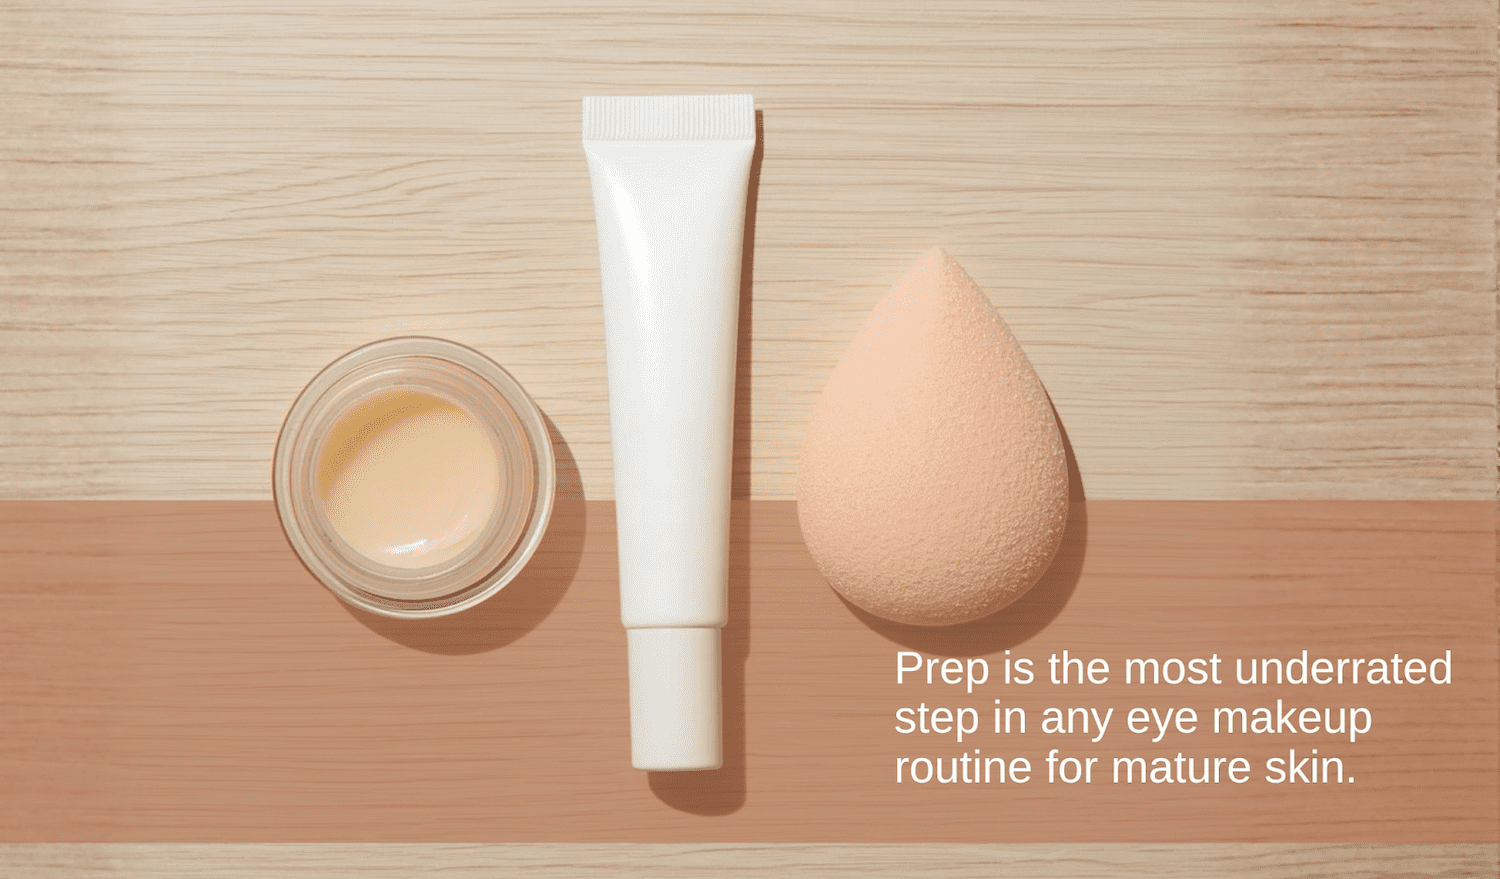
The routine fix is simple: apply a lightweight eye cream or hydrating balm to the entire orbital area, including the lid, using your ring finger. Pat gently rather than pulling or rubbing. Let it absorb for 60 seconds, then follow with a thin layer of eyeshadow primer to seal moisture in and create a smooth, even surface for colour.
This two-step prep routine takes under two minutes and makes a visible difference in how long eye makeup stays fresh and how smoothly it blends during application. Think of hydration as the base layer that everything else is building on.
Tip 2: Switch to baked or cream-to-powder eyeshadow formulas
Formula is where most women in their 40s and 50s find the biggest shift. Flat, dry pressed-powder eyeshadows that worked without issue on younger skin can become chalky, patchy, or crease-prone on lids that have naturally become drier and more delicate in texture.
Baked eyeshadows close that gap in a meaningful way. These formulas are created by baking cream pigments on terracotta tiles for up to 24 hours, which changes the way they interact with skin. They start with the slip and blendability of a cream, but set to a fine, breathable powder finish that sits lightly on the lid rather than sinking into texture.
The result is a soft, multi-dimensional colour that stays smooth throughout the day without looking cakey or drawing attention to lines around the eye.
The Laura Geller eye makeup products were built on this formula principle from the beginning. Laura Geller has been involved in makeup for mature skin since the late 1990s, and the brand's eyeshadow range reflects that depth of experience.
Options like the earthy essentials baked eyeshadow palette combine matte and low-shimmer finishes in warm neutrals such as taupes, soft bronzes, champagne tones, that are calibrated to work with the natural shifts in skin tone and eye colour that come with age. They blend without dragging, wear without creasing, and deliver a luminosity that flatters rather than emphasises texture.
Looking for eyeshadow formulas designed for mature lids? Browse the Laura Geller eye makeup collection for baked, crease-resistant options created for real women over 40.
Tip 3: Use strategic placement to open and lift the eye
Even the best eyeshadow formula can fall flat if placement is not adjusted for the way the eye area changes with age.
Lids that have become slightly more hooded require a different approach to shadow placement than the diagrams found in most makeup tutorials, which are typically designed for fuller, less hooded lids.
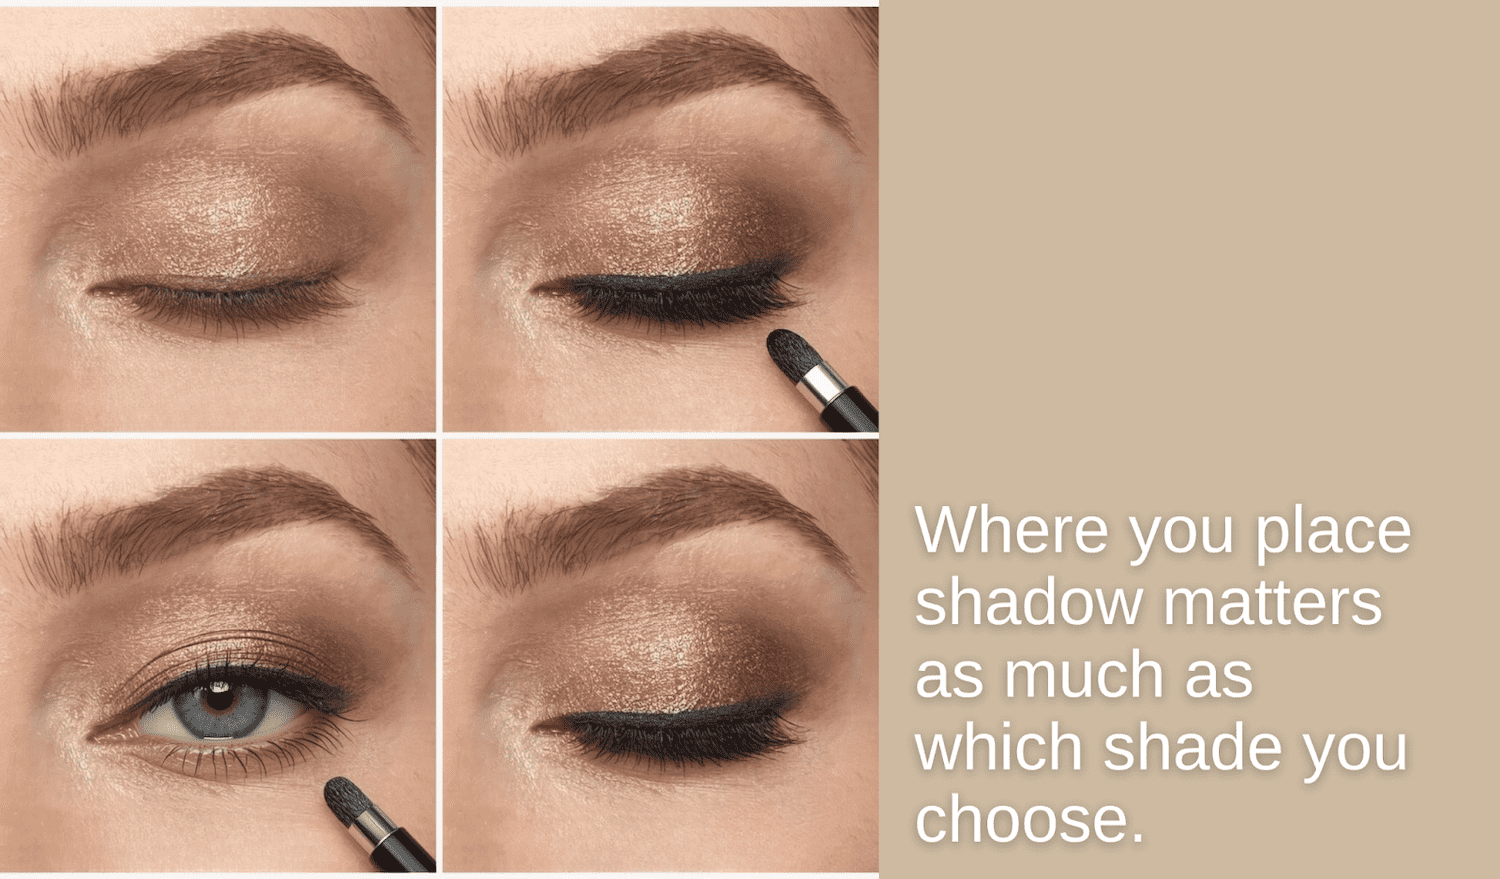
The most effective approach for mature eyes uses four targeted placements:
Lid brightener: a champagne, vanilla, or skin-toned satin shade swept across the entire lid from lash line to brow bone. This forms the base, even tone, and immediately makes the eye appear larger and more awake.
Crease definition: a mid-tone warm neutral (taupe, warm beige, soft mushroom) swept through the crease with a fluffy brush, blended slightly higher than the natural crease. This creates the appearance of more visible lid space and adds gentle lift.
Outer corner depth: a deeper shade blended at the outer corner and swept upward and outward rather than downward. Upward blending creates lift. Downward blending, even subtly, can emphasise any heaviness at the outer corner.
Inner corner highlight: a small press of the lid brightener or a pale champagne shade at the inner corner, applied with a fingertip. This is one of the fastest single steps to make eyes look refreshed, particularly on tired mornings.
This four-placement system takes under three minutes and delivers a polished result whether you use all four steps or just the two that your morning allows.
Tip 4: Add moisture to the under-eye area before concealer
The under-eye area is one of the first places that shows dryness, and it is also one of the places where concealer is most likely to settle, crease, or look cakey when the skin underneath has not been adequately prepared.
Before applying concealer, pat a small amount of brightening eye cream or a hydrating serum into the under-eye area and allow it to absorb for 30 to 60 seconds.
When the skin is plumped with moisture, concealer glides on more evenly, blends more naturally, and is significantly less likely to gather in fine lines throughout the day.
For application, use a damp beauty sponge or your ring finger. Both tools apply less pressure than a brush and are gentler on the delicate skin beneath the eye. Tap the concealer in rather than dragging it, and blend outward toward the cheekbone with a light patting motion.
As Laura Geller notes in her guidance on makeup for mature skin: meet your skin where it is now. For the under-eye area, that means building in the hydration step rather than asking the concealer to do work it cannot do alone.
Tip 5: Rethink liner — less outline, more definition
Liner is one of the most powerful tools for the mature eye area, and also one of the most commonly applied in a way that works against the goal. A thick, continuous line drawn high above the lash line can close the eye down, read as heavy, and draw attention to any unevenness in the lid that comes with more hooded eyes.
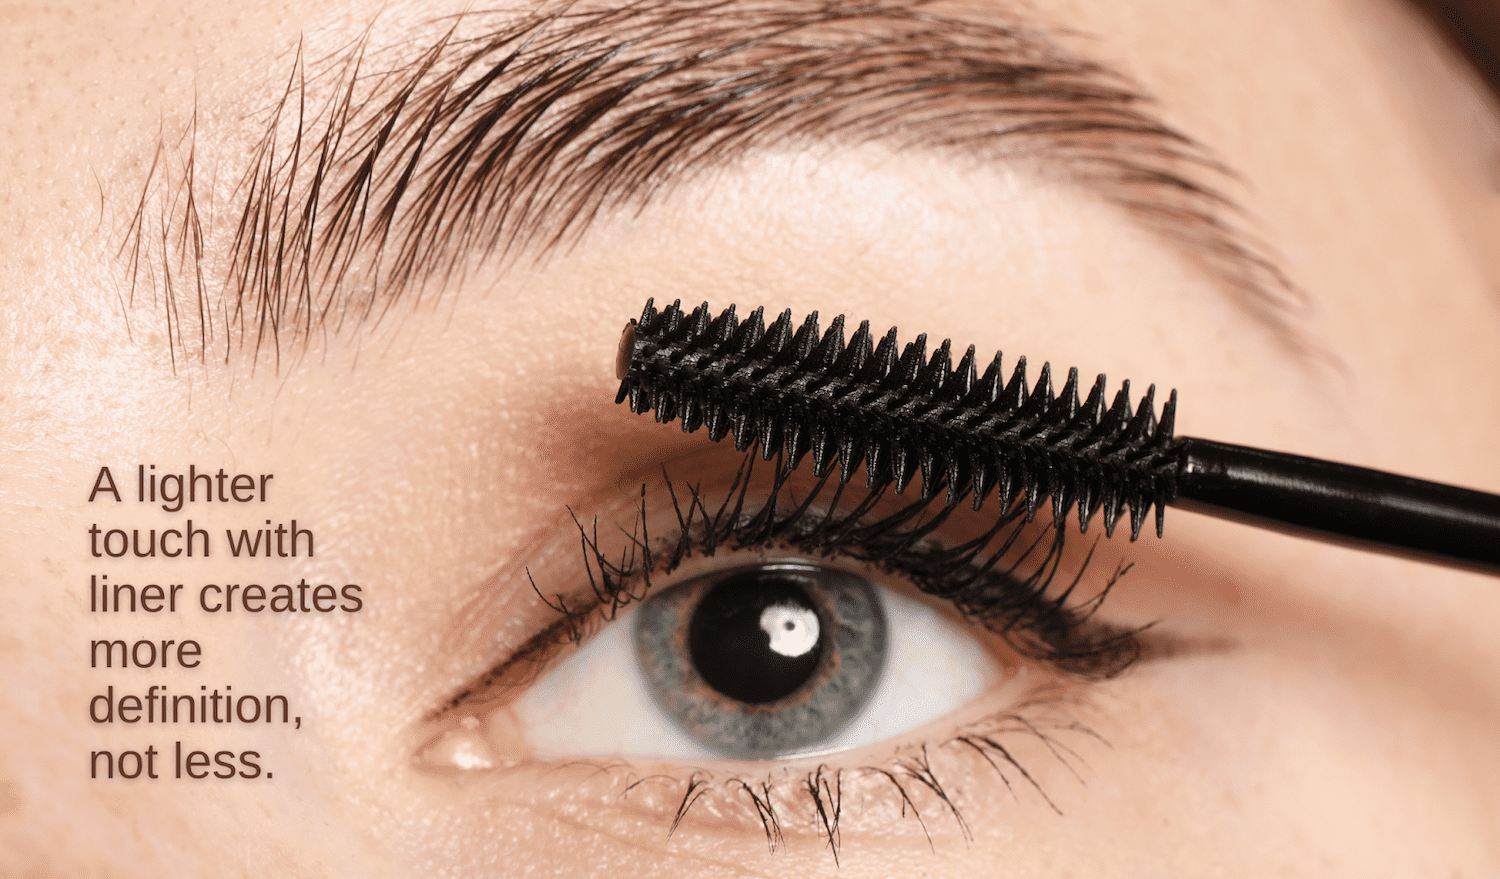
The more effective approach is to use a liner to reinforce the lash line rather than to create a standalone stripe above it.
A soft gel liner or a well-sharpened pencil, applied in short, dabbing strokes as close to the lash roots as possible, creates the impression of denser lashes and a defined eye without the weight or precision that a full liner stroke requires.
For the lower lid, swap dark liner entirely for a beige or soft warm-white pencil on the waterline. This brightens the inner eye, makes the white of the eye appear larger, and adds a refreshed quality to the whole look. The difference is immediate and takes fewer than ten seconds to apply.
"For hooded or crepey lids, keep shadows light and lifted and use a beige liner on the lower waterline to brighten tired or smaller-looking eyes."
That guidance comes directly from Laura Geller in her widely shared tips for mature eye makeup, and it holds up across virtually every eye shape and lid type.
Tip 6: choose mascara for lift, not volume
Mascara choice matters considerably more than it might seem.
A volumising mascara formulated with heavy waxes can weigh down lashes that have already become finer over time, leading to a clumped or overdone finish that makes the eye look heavier rather than more open.
A lengthening and lifting formula, applied from the base of the lash in an upward sweep adds the visible extension and openness that the eye area benefits from most at this stage.
Wiggle the wand gently at the root of the lashes before lifting upward. This separates and lifts from the base, which creates a fanned, open appearance that the eye immediately reads as more awake and defined.
Two thin coats with a brief pause between them will always outperform one heavy application. Curl lashes first with a lash curler for maximum lift, and consider a waterproof or smudge-resistant formula if transfer or sensitivity around the eyes tends to cause fallout under the lash line during the day.
Mascara only ever works with the lashes you have that morning. If thin lashes are the real issue, a serum used at night works on the lashes themselves rather than just how they look for the day, though it takes a few weeks to notice a change. Most fall into two camps: peptide-based formulas like ForChics, and prostaglandin-based ones such as RevitaLash and GrandeLASH-MD. The distinction is worth knowing, since sensitive eyes often do better avoiding the prostaglandin route. As with mascara, consistency beats intensity — one nightly stroke does more over a month than any heavier short-term fix.
Tip 7: give the brow the same care as the lid
Brows are inseparable from the eye area, and for many women in their 40s they become the most transformative single element of the eye look. Natural brow hair can thin and lighten over time, which softens the definition that brows provide to the overall face. Restoring that definition lifts the whole eye without any additional eye makeup required.
For an everyday brow, use a fine-tipped brow pencil or brow powder in a shade close to your natural colour, or slightly lighter if you have silver or grey hair (which tends to suit a softer brow tone than darker shades).
Work in short, hair-like strokes to fill sparse areas and define the arch. Avoid drawing a solid, sharp line, which reads as unnatural and can look heavier than individual strokes.
Set brows with a tinted or clear gel to hold the shape throughout the day. This final step takes seconds and keeps everything in place regardless of activity, weather, or a long day.
Tip 8: finish with a targeted highlighter, not shimmer
The right highlighter in the right place can do more for the overall eye area than several additional shadow steps. The key word is targeted: a highlighter used at the inner corner of the eye, on the brow bone just below the arch, and potentially at the inner waterline creates the impression of brightness and a lifted, open eye without adding complexity to the look.
For mature skin, the finish matters here as much as it does with eyeshadow. A chunky glitter or high-intensity shimmer highlighter can draw attention to texture and fine lines rather than softening them. Opt for a finely milled, low-glow formula that reflects light diffusely rather than catching it in sharp spots. Products described as having a "glow" finish rather than a "shimmer" or "glitter" finish will generally perform better in this regard.
Avoid applying highlighter to the entire brow bone or sweeping it broadly across the eye area, where it tends to look unfocused. Precision placement at the inner corner and under the arch is what creates the refreshed, luminous effect without overworking the look.
If you are also revisiting your broader beauty routine, here’s 40 bucket list things to do before you turn 40 that includes a strong thread on embracing this chapter with confidence and intention.
And for broader style inspiration that pairs naturally with a refreshed beauty routine, the fashion and style archive is worth a browse.