How to Make Bone Broth from Scratch

First came quinoa, then kale, cold pressed juice cleanses and now the official new health craze of 2015 is bone broth! It sounds like something straight out of Hocus Pocus and when you look at the list of benefits it does seem pretty magical. Bone broth promises to deliver youthful skin, improved digestion, increased energy, a better night’s sleep, a more robust immune system and an overall better general feeling of wellbeing.
I am always willing to try something new as long as it’s not full of artificial ingredients and chemicals. I had heard people talking about bone broth and I read a fashion magazine article stating that it’s the new celebrity craze. Trendy restaurants in Palo Alto, Manhattan and Brooklyn have begun serving it so fans get get their fix conveniently.
My friend Cassie joined me on my bone broth adventure and we researched different cooking blogs to find the best recipe. She made chicken bone broth from Nourished Kitchen and I made beef bone broth from Paleo Porn's recipe. We researched where to buy grass feed, organic bones in our area and it was no easy task. I went to Molly Stones and called almost every Whole Foods in the bay area until finally Potrero Hill Whole Foods had some in stock. I bought 3 lbs of mixed marrow and knuckle bones which seemed like too much to use all of it in one pot, so I froze half of it. The butcher at Whole Foods recommended double freezer bags to keep bones from drying out. When you thaw them, must use within 3 days.
The reasoning behind using only grass fed beef bones is not an exact science but more of a personal preference. Since a lot of nutrients are stored in bones, some believe that toxins can be stored in them as well. Because the process of making bone broth is leaching everything out of bones, it doesn't seem too far fetched that we could also be leaching harmful elements.
Many cows that are not pasture raised or grass fed are given hormones, subtherapeutic antibiotics, GMO food and live in deplorable conditions. While I do not claim to be any kind of expert, I feel better knowing that the cow was not only treated better and is more likely to be healthier. While these bones are more expensive and harder to find, it is worth it for me to support this business.
Unlike all those $8 pressed juices, bone broth it is very economical to make. My entire list of ingredients only cost less than $25 and it yielded about 3 quarts.
In order to make your own broth, you will need:
A baking sheet with sides
Crock pot
Straining ladle
A Gravy Separator (optional)
Strainer
Freezer safe food storage containers
Ingredients for Beef Bone Broth:
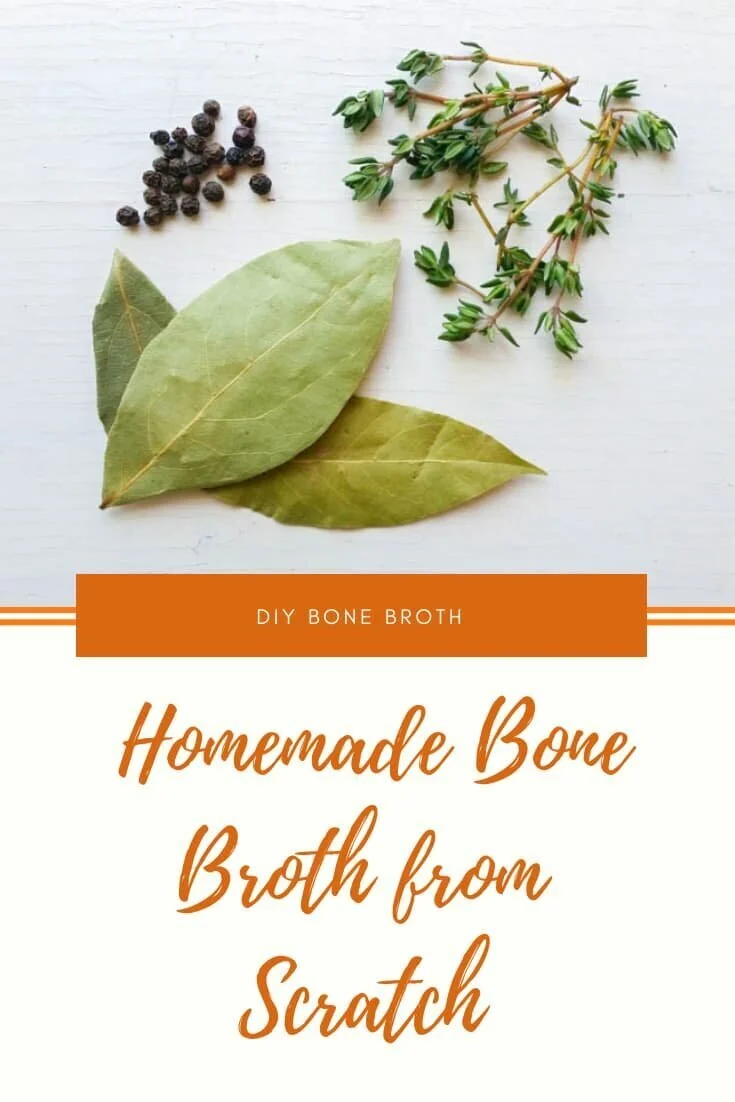
Fresh thyme
Peppercorns
Bay Leaves
Half an onion
Carrots
Garlic cloves
Celery
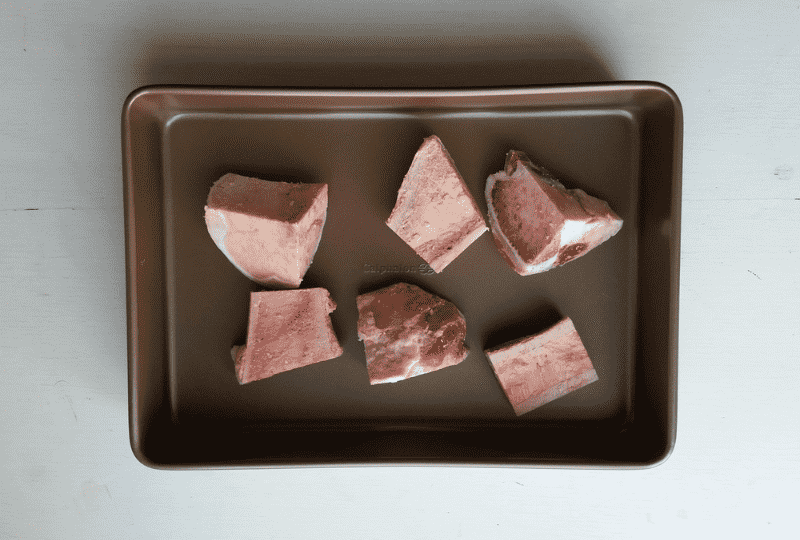
3 lbs grass-fed organic bones. Select a mix of marrow and knuckle bones.
Apple Cider Vinegar
Cold distilled water

Step 1: Roast bones on cooking sheet for 1 hour at 350 degrees.
Note: Within 30 mins of roasting, the smell of the roasting bones was overwhelming and I had to open all the windows in the house. It smelled somewhat like cooking meat, but slightly different and honestly not very appetizing. At this point I was wondering what I got myself into!
Step 2: While the bones are roasting, chop up your vegetables and add them to your crock pot.

Step 3: Remove the bones from the oven. You will see a lot of liquid at the bottom of the pan, I added it to my pot to make sure I wasn't tossing out any nutrients. Add cold distilled water and throw in your spices. I didn't measure my spices, I just guesstimated based on my preferences.
Cover your crock pot and put on high until it comes to a boil (about 4 hours). Then turn on low and leave cooking for 48 hours.

Step 4: After you've cooked the bones for nearly two days, they will become extremely soft and crumble easily. All the nutrients have been cooked out of the bones and are now in your broth. The vegetables will also be very mushy and tasteless. You want to remove and throw away all the bones, vegetables and debris in the crock pot. It sounds odd to toss out vegetables, but after cooking for so long they're so bland and inedible. Use a straining ladle to remove the big pieces of debris.

If you have a gravy separator, plug the spout and pour broth into the top strainer. If you forget to plug the spout, it will be difficult to separate the fat because it will fill up the spout. The mesh top will catch all the small pieces of debris such as spices and possible bone fragments. I purchased my gravy separator from Williams and Sonoma. I am a big fan of glassware, I try to minimize the use of plastics, especially with heat.
If you have never used a gravy separator, here's a helpful instructional video here.
No need to fret if you don't have a gravy separator. If you put your broth into the fridge for a few hours, the fat will float to the top and harden. Then It is easy to scoop it off and discard.


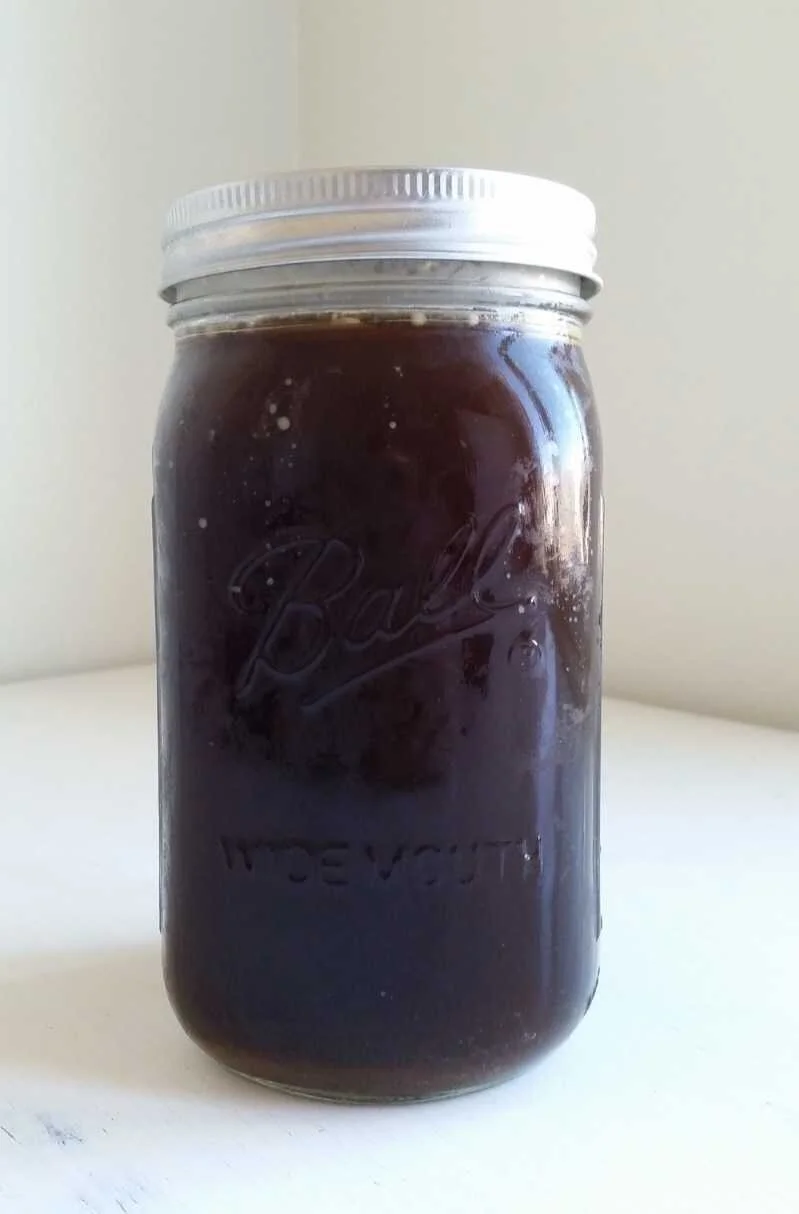
Voila! Your bone broth is complete! You can cook it into a soup with veggies and noodles or just drink it plain. I froze about half my batch so that I can have some readily available when I need it.
Comparing the beef broth I made to Cassie's chicken broth, the beef version has a bolder taste due to the sheer size of the bones. The chicken bone broth still had a different taste than store bought chicken stock, but a littler lighter flavor. I personally liked the chicken broth a little better but I recommend you make both and see for yourself!